How To Remove FileRepMalware from your Computer

Some Users have recently contacted us regarding FileRepMalware that seems to have infected their computers and in this article, we will be diving deep into removing it from our computer but first, we must get to the bottom of the question that almost everybody must have on their mind. Just what is FileRepMalware? to get your answer, read through the steps below.
What is FileRepMalware?
When your 3rd party Anti-Virus scans a file with Low-reputation scores it will assign it a tag known as FileRepMalware. These tags are commonly used by Avast and AVG, if you are an Avast or AVG user you may have wandered upon this at some point. This issue is likely to be caused to Windows users who activate their Windows version using 3rd party apps like KMSPICO.
Basically, whenever somebody on the internet claims to provide you something that you are supposed to pay for, for free, you run the risk of infecting your computer with viruses and malware. FileRepMalware seems to be similar and infects the victim’s computer using the same techniques. The Error is also sometimes called as “Win32:Evo-gen [Susp]” by some antivirus software.
Is it Safe?
We wouldn’t call FileRepMalware safe and nor would be call it a very serious threat, Apps like Avast gives it a FileRepMalware tag because the file isn’t scoring good in their reputation table. This doesn’t mean the file is going to harm your computer in any way. To find out whether the file is a false you can use sites like VirusTotal, VirusTotal is an online site which helps scan the file and find out if it is truly infected.
Before You Start:
- Before proceeding towards the major fixes you should test the file out with VirusTotal software because normally we ask people to submit suspicious files there to see their initial results.
- Once the website loads click on the “Choose file” option.

Choose File - In the “Browse” window select the suspicious file and upload it.
- VirusTotal will then scan the file, show you results afterward, and check whether you have got rid of filerepmalware pup.

What is filerepmalware and how to remove it:
Method 1: Use Malwarebytes Software
Malwarebytes is a very well-known and reliable anti-virus that allows users to scan multiple types of viruses and trojans. You can download Malwarebytes from their official website and once downloaded run a “Threat Scan” on your computer and remove all infections in the end. This can help you in removing filerepmalware without much effort.

Method 2: Use Windows Defender
Windows Defender is a built-in anti-virus that comes pre-loaded into your Windows 10 device. Windows Defender can also prove beneficial at times in removing quite a majority of such errors. To perform a full windows scan on your system using Windows Defender you need to carry out these steps:
- In the search bar near the Start menu type in “Virus and Threat Protection” and press “Enter”.

Typing Virus and Threat protection - In the pop-up window click to choose “Scan Options” and then select “Full Scan” from the available options. Afterward, click on the “Scan Now” button.
- Your PC will now be scanned for viruses and this process may take a while. When it is done now proceed to check if the issue got resolved.

Method 3: Uninstall Recently Installed Applications
If you’ve started to get the FileRepMalware message after installing an application recently, you can try uninstalling it and then see if it fixes the error for you. Follow these steps:
- Press the “Window + R” keys on your keyboard to open up the “Run” dialog box.
- In the Run prompt type in “appwiz.cpl” and press “Enter”.

Typing “appwiz.cpl” - When the “Programs and Features” window opens up scroll down through the list of “Applications” to find the suspicious app.
- Select the recently installed application and click on “Uninstall” at the top.

Uninstall Microsoft Office - Then follow the on-screen instruction to complete the process.


Method 4: Remove Plug-ins and Extensions From Your Browser
If you’ve recently added any extensions to your browser, you might try removing them. Follow the below-mentioned steps according to your specific browser.
Google Chrome Users:
- Open the “Chrome Browser” and click on the “Three Dots” in the upper right corner of the window.
- From the drop-down menu click to select “More Tools” and from the extended menu select “Extensions”.

Select Extensions - Now here you will see a list of “Extensions” enabled, try disabling them and keep only those that can be found on the official websites.

Disable Chrome Extensions - After disabling the extensions proceed to check whether filerepmalware utorrent issue persists.


Mozilla Firefox Users:
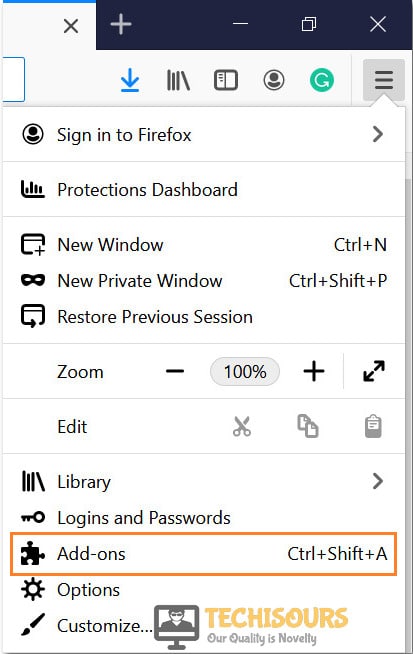
- Click on the “Firefox Menu” icon (3 horizontal lines) at the top right of the window and select “Add-Ons” from the drop-down menu.

Choose Addons - In the Add-ons menu select “Extensions” from the left vertical pane.
- Then you will see the list of enabled “Extensions” on your computer and you can try removing them all and then start enabling them one by one to find out the defective one in between.
Internet Explorer/Microsoft Edge Users:
- Click on the “Gear” icon or 3 doted “Settings” icon in the top right of your Microsoft Browser window and from the drop-down menu click to select “Manage Add-Ons”.
- In the pop-up menu, you will be able to see all your installed Add-ons, start “Removing” them one by one to find the suspicious extension.
Safari Users:
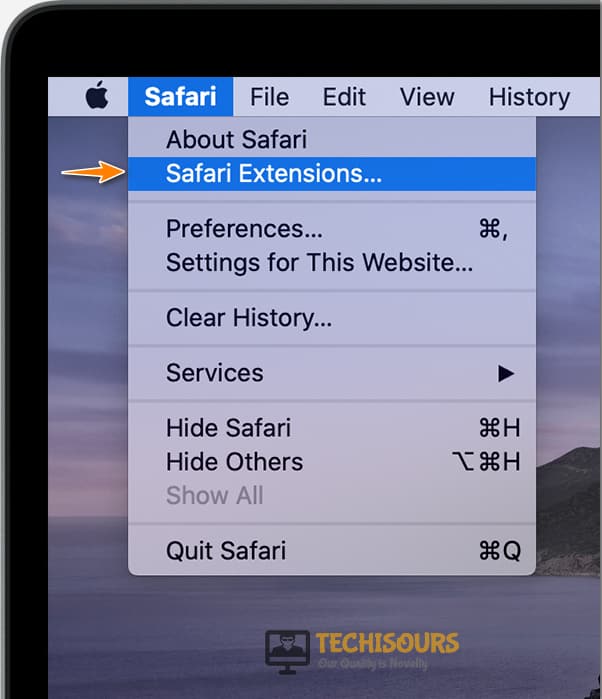
- Launch “Safari” on your Mac and click on the “Safari Menu” at the top left of the window, from the drop-down menu click to select “Preferences”.
- When the new pop-up window appears up select the “Extensions” tab in the top bar.

Choose Safari Extensions - In the Extensions tab, you will see all of your installed “Add-Ons”, you can remove them all at once and then re-enable them one by one or you can try “Disabling” them one by one to resolve the issue.
Method 5: Delete Temporary Files
You should routinely delete any temporary files made on your computer to keep it safe. Follow these steps to do so:
- Open up the “Run” dialog box using the “Window + R” keys simultaneously on your keyboard.
- In the Run prompt type in “%temp%” and press “Enter”.
Typing in “%temp%” - When the window opens up press the “Ctrl + A” keys together to select all files.
- Once selected press the “Shift + Del” keys on your keyboard to permanently delete all of the files.

Method 6: Reset Browser Settings
You can reset your browser settings and then check if it helps to resolve the issue:
Google Chrome Users:
- Open your browser and press the “Three Dot Icon” at top of the window.
- From the drop-down menu select “Settings” and then scroll down to the bottom to click on “Advanced”.
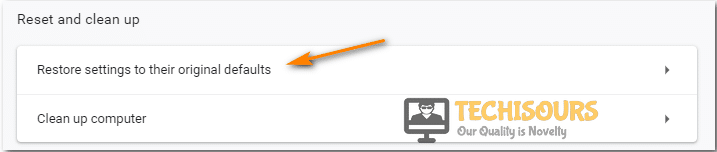
- Here find the “Reset and Cleanup” section and click on “Restore Settings To Their Original Defaults”.

Restore Settings - Confirm your selection by clicking on “Reset Settings” and then check to see if the suspicious file issue still persists.
Mozilla Firefox Users:
- With your “Mozilla Firefox Browser” is launched click on “Menu” at the top right of the window. and from the drop-down menu make sure to select “Help”.
- When the extended menu opens up select “Troubleshooting Information”, and in this section click on “Refresh Firefox” under “Give Firefox A Tune Up”.

Refresh Firefox - Then confirm your selection by clicking on “Refresh Firefox” in the pop-up window.

Internet Explorer/Microsoft Edge Users:
- With your “Internet Explorer Browser” launched, click on the “Gear Settings” icon at the top, and from the drop-down menu choose to select “Internet Options”.

Choose Internet Options - When the new window pops up click on the “Advanced” tab at the far right, and next click on the “Reset” button to reset your browser to its factory settings.
- Confirm your selection by clicking “Reset” in the newly popped up window.

Safari Users:
- With the “Safari Browser” active click on the “Safari Menu” near the Apple logo at the top, and from the menu that drops down select the “Clear History and Keep Website Data” option.

Clear History and Keep Website Data - A new window will open up, in the “Clear” option make sure “All History” is selected. Once selected click on the “Clear History” option.

Method 7: Clear Cookies and Site Data
To clear cookies and site data on different browsers follow the steps as mentioned below:
Google Chrome Users:
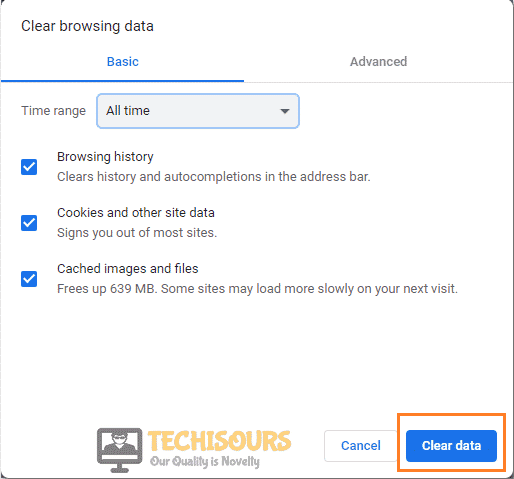
- On your computer open up “Google Chrome”, and at the top right of the window click on the “3 Vertical Dots” menu. From the drop-down menu select “More Tools” and then further proceed on to select “Clear Browsing Data” from the extended menu.
- Now at the top select a “Time Range”, it is preferred that you set it to “All Time”. Now make sure the box in front of “Cookies and Other Site Data” and “Cached Images and Files” is ticked.
- Once done click on the “Clear Data” option to confirm your changes.

Clearing Data
Mozilla Firefox Users:
- Launch “Mozilla Firefox” on your computer and click on the “Menu” button at the top right.
- With the menu button clicked select “Options” from the drop-down menu and in the Options section select “Privacy and Security” in the left pane.
- Scroll down to find the “Cookies and Site Data” section and then click on “Manage Data” to see a list of site cookies and cache.

Clicking on Manage Data Option - Once you’ve been through the list you can choose to remove certain site data or all, to delete all simply click on “Remove All” shown at the bottom, to delete selected data make sure the sites are selected, and then click on “Remove Selected”.
- Once Site Cookies and Data is cleared click on the “Save Changes” option at the bottom.

Microsoft Edge Users:
- Open up “Microsoft Edge” on your computer and select the “Settings” option at the top, in the Settings menu click on “Privacy, Search and Services”.
- Move on to locate “Clear Browsing Data”, and select a “Time Range” and then make sure to select “Cookies and Other Site Data”.
- Once all options are secured click on the “Clear Now” button.
Safari Users:
To clear the cache proceed with these steps:
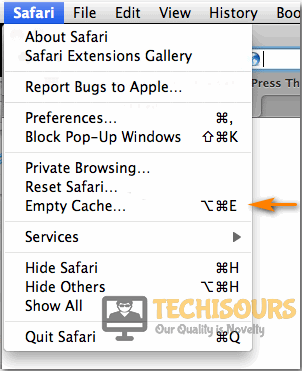
- Launch “Safari” on your Mac OS and click on the “Safari Menu” at the top, from the safari menu drop down select “Empty Cache”.
- Then click on the “Empty Cache” button to remove all.

Empty Cache Safari
In order to clear cookies follow these steps:
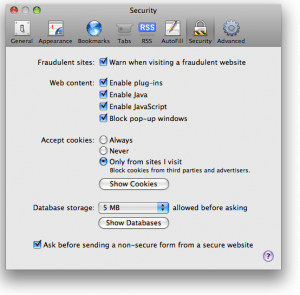
- With “Safari” launched on your Mac OS click on the “Edit Menu” at the top and select “Preferences” from the drop-down bar.
- In the Preferences menu go on to select “Security” and then move into the “Show Cookies” section.

Show Cookies - To delete all site cookies click on “Remove All”, once deleted click on “Done”, and close all the windows.
Method 8: Clean Windows Registries
To clean any affected registries follow the below-mentioned procedure:
- Open up the “Run” dialog box using the “Window + R” keys simultaneously.
- In the Run prompt type in “regedit” and hit “Enter”.
Typing “regedit” - The registries that are targeted are mentioned below:

HKEY_LOCAL_MACHINE\Software\Microsoft\Windows\CurrentVersion\Run

HKEY_CURRENT_USER\Software\Microsoft\Windows\CurrentVersion\Run

HKEY_LOCAL_MACHINE\Software\Microsoft\Windows\CurrentVersion\RunOnce

HKEY_CURRENT_USER\Software\Microsoft\Windows\CurrentVersion\RunOnce
- Navigate to these registries using the folders in the left pane in the “Registry Editor” window.
- Once in the registry, you will found different entries, to find a virus entry right-click on the “Registry” and select “Modify” from the drop-down menu if the location on the entry is one associated with a virus “Delete” it.
- To delete an entry right-click on it and select the “Delete” option.
- After cleaning the registries check if the error got eradicated now.
Method 9: Uninstall Adware
Advertisement Supported Software or more commonly known as Adware are a kind of Malware that displays unwanted Ads on your computer. So, you can try uninstalling these using the following method:
- On your keyboard press the “Window + R” keys together to open up the “Run” dialog box, when the window opens up type in “appwiz.cpl” in the address bar and press “Enter”.
Typing “appwiz.cpl” - In the “Programs and Features” window scroll down through the list of installed programs to find all of the unwanted applications.
- To uninstall an application select the application using the left mouse button then once selected click on the “Uninstall” option at the top to uninstall the said application.
Method 10: Boot Into Safe Mode
Safe Mode is used on a computer when the user doesn’t want any third-party application to interfere, Safe Mode launches your computer with only Windows services running in the background. To launch the safe mode follow these steps:
- Using the “Window + R” keys simultaneously on your keyboard open up the “Run” dialog box, in the Run prompt type in “msconfig” and press “Enter”.

Typing in “Msconfig” - In the “System Configuration” window click on the “Boot” tab at the top. In the Boot tab tick mark the box in front of “Safe Boot”, and make sure the “Minimal” option is selected.

Boot in safe mode - Once all options are confirmed, apply all the changes and click on “OK”.
- Finally, you will need to “Restart” your computer to head into the Safe Mode.


Follow the above-indexed solutions carefully in order to resolve this error but if the problem continues to stay then feel free to Contact Us here for further help.