Android Auto Keeps Disconnecting? Here is how to Fix it
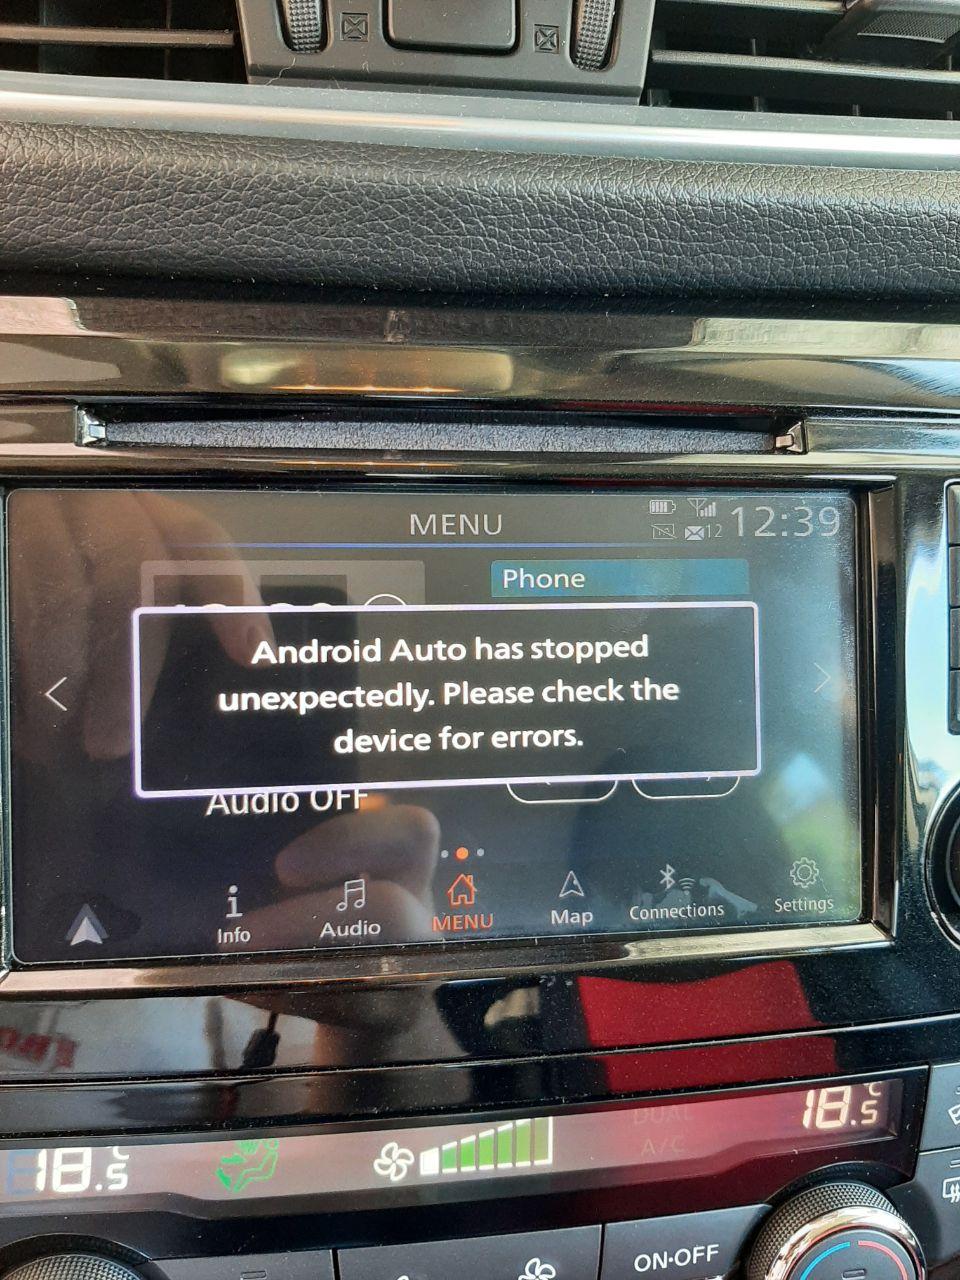
If your Android Auto Keeps Disconnecting while using it, you have come to the right place. In this article, we have managed to compile all the solutions and workarounds that you can use to fix the issue. In addition to that, we have also listed the reasons why the error occurs. According to our findings, the issue is mostly triggered due to app conflicts or firmware issues.
Why does Android Auto Keeps Disconnecting?
After having to go through the solutions that are commonly used to fix the issue, we concluded that the following must be the paramount reasons why the error occurs.
- Outdated application: It is possible that the android auto application on your device has been outdated and due to this, Android Auto keeps disconnecting. Therefore, we suggest that you follow the steps below to update it.
- Battery Optimization Feature: Sometimes, the Battery optimization feature on your device might be causing the error, therefore, we suggest that you go through the steps below to disable the battery optimization feature.
- Mock Location: In certain cases, the mock location feature on your device might be causing the issue. Therefore, we suggest that you go through the steps that we have listed below to fix the Android Auto keeps disconnecting issue.
Now that we have taken you through most of the reasons why the error occurs, we can finally start implementing the solutions.
Before You Start:
- Many users suggested checking for the compatibility of Android Auto with the car before proceeding to the troubleshooting guide.
- Some users recommended replacing the USB cable with a “High-Speed USB 3.1” cable to connect the Android Auto app to the car’s head unit, also try cleaning the USB port before inserting the USB cable.
- Some users reported that replacing their smartphones can help in fixing this issue.
- Many users recommended verifying that Android Auto is “Enabled” on the vehicle’s head unit.
- Some users reported that “Enabling” the “Do Not Disturb Mode” on the smartphone while using the Android Auto app can fix this issue.
- Many users recommended making sure that the phone is in “Data Transfer Mode” when connecting it with the car’s head unit.
- Some users suggested “Disabling” the “Auto Rotate” feature of the smartphone while using the Android Auto app.
- Many users advised uninstalling the conflicting application from their phone that’s causing the Android Auto app to malfunction.
- Some users suggested removing all the “Data” and “Settings” from your car’s head unit and then performing a new setup procedure on the head unit can resolve this issue.
- Some users recommended installing the “AA Wireless Dongle” in your car to fix this issue.
- Some users reported that choosing the “USB Tethering” mode manually while connecting the device to the car’s head unit can help in fixing this issue.
Fixing the Android Auto keeps Disconnecting Issue Completely:
Solution 1: Restart Your Phone
This issue can arise due to a minor bug in the operating system, simply restarting your device can fix this issue, therefore follow the guide below to perform this procedure:
- Firstly, press and hold your device’s “Power” button until a menu pops on the screen then, tap on the “Restart” option.

Restart your Phone - Afterward, tap on the “Restart” button to confirm your choice, then wait for the device to completely restart before launching the Android Auto app.

Solution 2: Update Android Auto App
Sometimes the application is not updated to the latest available update which can lead to this error, installing the latest update can fix this issue hence follow the instructions given below to update the Android Auto app on your device:
- First of all, launch the “Play Store” app from your phone, type “Android Auto” in the search box, and then select it from the search results.
- The update button will appear in front of you if any update is available, tap on the “Update” button to install the latest available update.

Tapping On The Update Button - When the update is successfully installed on your device, launch the app and check if the issue is resolved.

Solution 3: Update the Device’s Firmware
Many issues that develop with Android applications can be fixed by just updating the Android operating system therefore, follow the steps outlined below to update the operating system on your smartphone:
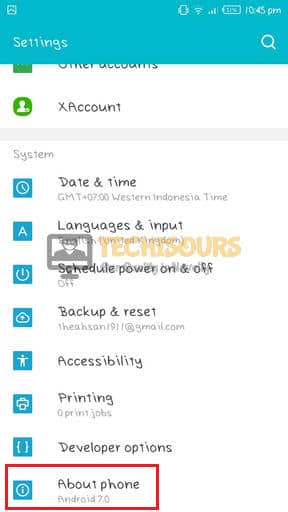
- Initially, access your device’s “Settings” menu, and then select the “About Phone” option.

About Phone - Choose the “MIUI Version” option from the About Phone section, and afterward, select the “Check for Updates” option. (Depending on your device and Android version, this option may differ)

Clicking on the “Software Update” option - Now if any latest update is available, tap on the “Download Now” button, afterwards select the “Install Now” option and when the update is successfully installed on your device, verify if the error has been fixed.

Solution 4: Clear Android Auto Cache
Cache files can build up in the phone’s memory that with the passage of time cause performance issues, removing the cache files can help resolve this issue hence follow the instructions mentioned below to remove the cache files from your device:
- Firstly, access the “Settings” option from the device’s applications list.
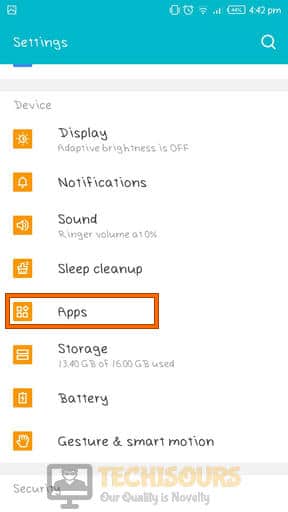
- In the Settings menu, locate the “Apps” option and afterward tap on the “Manage Apps / See All Apps” option.
Apps - In the search area, type “Android Auto” and then choose the app when it appears in the search results.
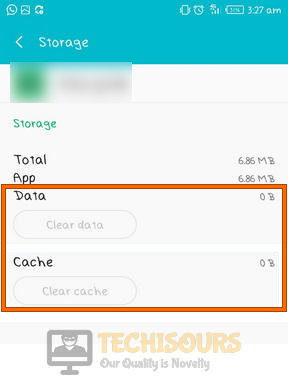
- Tap on the “Clear Data” option located at the bottom of the window, then select the “Clear Cache” option and restart your device once the cache memory has been successfully erased.

Tapping On Clear Data Option - Check to see if this fixes the Android Auto Keeps Disconnecting issue.
Solution 5: Update Google Play Services
Since this app isn’t available on the Play Store, you’ll have to update it manually by following the guide mentioned below:
- From your device’s home screen, proceed to the Google search box, type “Google Play Services” and then tap on it from the search results.
- The PlayStore app will launch in front of you, select the Google Play Services app and if the “Update” button appears, tap on it to download the most recent update for your device.
Solution 6: Verify Bluetooth Connectivity
This error can arise due to a faulty Bluetooth connection between your device and your car’s head unit, refreshing your Bluetooth connection can fix this issue, therefore follow the steps indexed below to resolve this issue:
- Navigate to the “Settings” option of your device and then tap on the “Bluetooth” option.

Selecting Bluetooth - Saved paired devices will appear in front of your screen, select the paired device that you use to connect with the car’s head unit and tap on the “Unpair” option.
- After successfully unpairing the device, tap on the “Available Devices” option, select the car head unit’s Bluetooth device, and choose the “Pair” option. (Make sure that the car Head Unit’s Bluetooth is Turned ON while performing this step).
Solution 7: Sync Mobile And Head Unit Date/Time
When the Date/Time setting of the smartphone and car’s head unit is not synchronized then users can face this issue therefore follow the instructions mentioned below to change the date/time settings on your smartphone and car’s head unit:
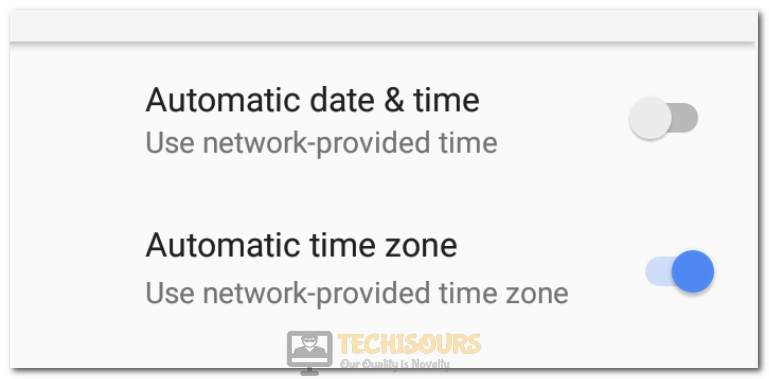
- Initially, access the “Settings” option of your smartphone and choose the “Date and Time” option from the menu.
- Now “Disable” the “Set time automatically” and “Set time zone automatically” toggle buttons by tapping on them individually.

Selecting the Automatic Date & Time option - After that, set the actual Date and Time on your device.
- Afterward, access the car head unit’s “Settings”, then locate the “Date and Time” option and set the correct date/time on the device.
- Check if Android Auto connects normally now.
Solution 8: Allow App Overlay Permission
Some apps require app overlay permission to function normally and if not granted, these apps start behaving abnormally, hence follow the procedure given below to allow app overlay permission:
- Firstly, access the “Settings” option of your device, in the search box type “Display over other apps” and when the option appears, tap on it.
- In the Display over other apps section, locate the “Android Auto” app, select it, and “Enable” the “Allow display over other apps” toggle button.

Enabling Allow display over other apps Button - Verify if the Android Auto Keeps Disconnecting issue has been fixed.

Solution 9: Turn Off Battery Optimization
Battery optimization is a built-in feature in smartphones that enhances the performance of the battery by restricting or disabling the applications, disabling this feature can help in resolving this issue hence follow the procedure given below to disable the battery optimization:
- First of all, launch the “Settings” option of your smartphone and choose the “Battery” option from the list.

Opening Battery & Performance - Tap on the “Manage Battery” option and then select the “Battery Optimization” option from the menu.
- In the Battery Optimization section, locate the “Android Auto” app, tap on it, and choose the “Don’t Optimize” option.

Selecting Don’t Optimize Battery - Finally, launch the “Android Auto” app and verify if the issue is still occurring.


Solution 10: Tweak GPS Settings
- Initially, open the “Settings” option of your phone and tap on the “Location” option from the list.
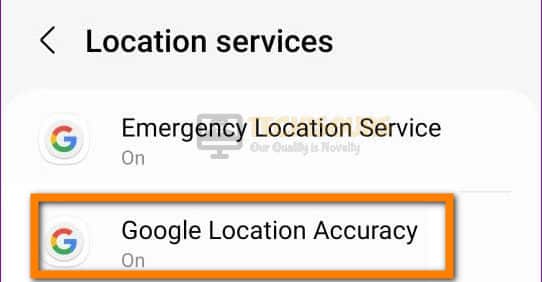
- Locate and select the “Location Services” option from the menu and tap on the “Google Location Accuracy” option.

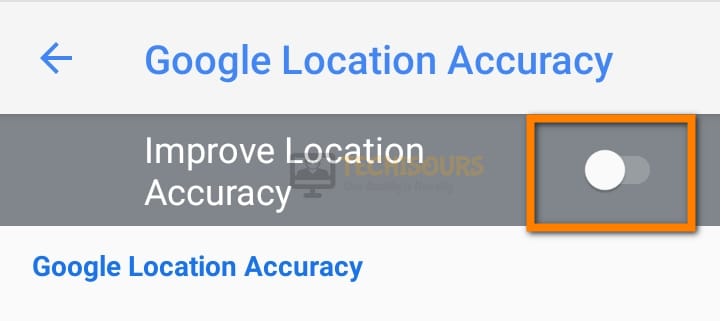
Selecting Google Location Accuracy - In the Google Location Accuracy section, Turn On the “Improve Location Accuracy” button.

Turning On Improve Location Accuracy Button
Solution 11: Enable USB Debugging
Enabling the USB debugging mode on your smartphone when accessing the car’s head unit via a USB cable can help resolve this issue hence follow the below-mentioned procedure to enable USB debugging on your phone:
- Initially, navigate to the “Settings” option of your phone and then tap on the “About Phone” option.
Developer Phone - Now select the “All Specs” option from the menu and then tap on the “MIUI Version” option multiple times until you see the message “You are now a developer” on your screen to enable the Developer Mode on your device.

Turning on Developer Mode - Afterward, navigate to the “Settings” option and choose the “Additional Settings” option from the menu.

Additional Settings Android - In the Additional Settings window, select the option “Developer Options” located at the bottom of the list.

Opening Developer Options - Finally, tap on the “USB Debugging” option to enable the debugging mode when the USB is connected to your device.

USB debugging android - Check to see if the issue is now fixed.


Solution 12: Enable Default USB Configuration
- Firstly, navigate to the “Settings” option and choose the “Additional Settings” option from the menu.
Additional Settings Android - Now choose “Developer Options” from the menu and then tap on the “Default USB Configuration” option.
Opening Developer Options - In the next menu, select the “File Transfer” option from the list and then check if the issue is resolved.
- Verify if the issue has now been fixed.
Solution 13: Turn Off the Mock Location Option
- First of all, access the “Settings” option of your device and then select the “Additional Settings” option.
Additional Settings Android - Now, select the “Developer Options” then choose the “Select mock location app” option and tap on the “No app” option.
- Check if the issue is now fixed.
Solution 14: Turn On Stay Awake Option
- Initially, launch the “Settings” option of your device, choose the “Additional Settings” option, and then tap on the “Developer Options”.
- In the Developer Options menu, locate the “Stay Awake” button and turn it “On”.
Solution 15: Modify Car Head Unit’s Settings
Sometimes the car’s head unit becomes unresponsive due to some glitch in the system that can be removed by simply rebooting it, and if the issue persists then follow the guide given below to change the head unit’s settings:
- Firstly, turn On the car’s head unit and navigate to the “Settings” option from the menu.
- Afterward, select the “Smartphone Connections” option from the list and then establish the Android Auto app’s connection on your phone.
Solution 16: Update Car Head Unit’s Software
An outdated operating system can cause many apps to malfunction as the old software restricts the functionality and performance of various applications hence follow the steps mentioned below to update the firmware of the car’s head unit:
- First of all, Download the latest version of Firmware from your car manufacturer’s website and then copy the downloaded files on an empty USB drive.
- Now plug the USB drive into the car’s head unit and then turn ON the head unit.
- A prompt message will appear on the screen of your head unit asking you to confirm the update process, select the “Start” button to initiate the update process, let the update process complete, and then restart the head unit afterward.
- Verify if the issue is now fixed.
Solution 17: Disable Wireless Projection
- Firstly, launch the “Android Auto” app on your phone and navigate to the “Settings” option.
- In the Settings window, scroll down the list, locate the “Wireless Projection” option, and “Disable” the toggle button by tapping on it.

Disabling Wireless Projection Option - Finally, relaunch the app and check if the issue is resolved.

Solution 18: Deactivate Wi-Fi Switching
Cellphones have a built-in feature to select the best Wi-Fi network based on the signal strength and connection speed, turning on this feature can interfere with the Android Auto app’s connectivity therefore follow the guide given below to disable this feature:
- Launch the “Settings” option of your phone and select the “Wi-Fi” option.
- Now choose the “Wi-Fi Preferences” option and “Turn Off” the “Intelligently Select the Best Wi-Fi” option.

Disabling Intelligently Select the Best Wi-Fi Option - Afterward, in the “Wi-Fi Preferences” section, tap on the “Auto Switch to Mobile Data” button to Disable this option.

Solution 19: Reinstall Android Auto App
When none of the above-mentioned fixes works for you, try reinstalling the application hence to accomplish this, follow the instructions mentioned below:
- Launch the “Play Store” app on your device, navigate to the “My Apps/Manage Apps” section, locate the “Android Auto” app from the list, and choose the “Uninstall” option.

Uninstalling Android Auto App - When the app has been successfully uninstalled, navigate to the Play Store, type “Android Auto” in the search bar, select the “Android Auto” application from the appeared list, and tap on the “Install” option.
- When the installation is complete, launch the application, and check if it is working as it should.

Workaround:
Some users suggested using an alternative app to connect with the car’s head unit named Samsung Mirror Link. If none of the preceding solutions works, contact Android Auto Official Support for more thorough debugging.
If you are still unable to resolve the problem, please Contact Us for further assistance.