What is Nvidia Backend (NvBackend.exe) and How to Stop it From Running
A lot of people have been seeing the Nvidia Backend process in their task managers and have gotten curious as to what this process actually does and why it is being shown to consume resources at the startup. In this article, we have listed the exact details about the process and have also listed the precise steps that you can take to end high CPU or Disk usage by the Nvidia Backend process.

What does Nvidia Backend do and why is it Launching at Startup?
Basically, the Nvidia Backend or the Nvidia Geforce Experience Backend or the Nvidia Update Backend process that you see in your task manager, is linked with the Geforce Experience software. A lot of such software have some additional process baked into their functionality that helps in performing certain functions. The Nvidia Backend process helps in forming a communication channel with the Nvidia servers on the backend. While the process might be necessary for the functionality of Geforce Experience, it is not entirely essential for the GPU.
Therefore, we can safely assume that you might stop this process or remove it from your computer altogether without having any effect on your actual GPU drivers. Geforce Experience isn’t essential to the functioning of the GPU and therefore, it can be removed along with the process as well.
Fix Nvidia Backend (NvBackend.exe) process on your Computer:
Method 1: Restart Computer Completely
It is sometimes possible that the issue might occur if the computer hasn’t startup up properly. Therefore, we suggest that you completely shut down the computer from the power options in the start menu and then remove the power cord connected to it. After removing the power cord, press and hold the “Power” button on the computer for at least 30 seconds until it drains out all the electricity from the computer. Restart your computer by connecting the power cord and pressing the power button. Check to see if this fixes the Nvidia Backend process consuming High CPU or Disk Resources.

Method 2: Restart Process from Task Manager
In certain cases, the process itself might be glitched due to a bad startup and this can easily be remedied by restarting the process from the Task Manager. For that:
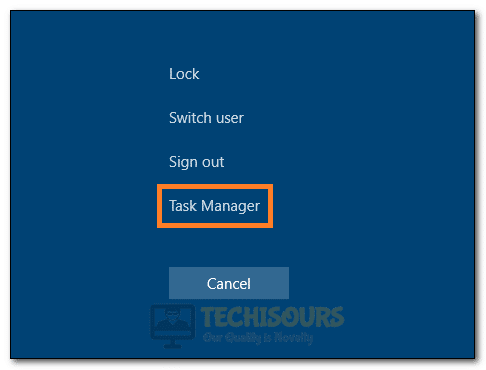
- Press “Shift + CTRL + Del” to launch into the menu and select the “Task Manager” option from it.

Launching Task Manager - After that, click on the “Processes” tab from the top and select the “NvBackend.exe” or the “Nvidia Backend” process from it.
- After selecting the process, right-click on it and select the “Restart” option from the menu.
- Wait for the process to be restarted and check to see if this has fixed the issue.
Method 3: Disable Shadowplay and Overlay
Sometimes the Shadowplay feature might be causing this spike in the consumption of the System resources. Therefore, we suggest that you try to disable the Shadowplay by following the steps below. For that:
- Launch into the Geforce Experience software and click on the “Settings” cog from the top bar.
- From here, select the “General” button and make sure to turn the toggle off for both “Share” and for “In-Game Overlay”.

Turn OFF NVIDIA In-Game Overlay - This should in turn disable the Nvidia Shadowplay on your computer.
- Check to see if doing so fixes the issue.
- If it doesn’t try also disabling the Auto scanning for Games feature and the notifications.

Method 4: Disable Antivirus
In certain situations, the Antivirus installed on the computer might be causing the Nvidia Backend process to spike its resource consumption. Therefore, we suggest that you try to disable the Antivirus and then check to see if doing so fixes the issue.
Method 5: Perform Clean Install of Drivers and GFE
- Download the DDU program from here.
- Once downloaded, run the program and select the “GPU” option from the “Driver” dropdown at the right and also select the “Nvidia” option from the make dropdown.
- Now, select the “Clean and do not Restart” button.

Selecting “Clean and Do Not Restart” - After the drivers are completely removed, press “Windows + R” to launch into the Run prompt and type in “Appwiz.cpl” and press “Enter”.

Typing in “Appwiz.cpl” and pressing “Enter” - From the next window, right-click on any “Nvidia” app that you find and select the “Uninstall” button.
- After removing the apps, reinstall the drivers from the official Nvidia website and check to see if the issue is now fixed.


Method 6: Rename the File
It is possible in some cases that the process might be glitched and you can just rename the source file so that it doesn’t run. First, stop it from the task manager and then, navigate to the “C:\Program Files (x86)\NVIDIA Corporation\Update Core\” folder and rename the “NvBackend.exe” to “NvBackend.exe_OLD” and it should no longer be able to work. Make sure to rename it back if you are updating in the future.
If you are still getting this issue, contact us for further troubleshooting.