Destiny: Error Code BEE Fixed Completely
Destiny 2 is an online multiplayer game introduced by Bungie in order to match the expectations of the gaming community by providing them an environment featuring fictionalized characters and giving them the role of guardians of the earth’s last safe city. Although it is a well-structured and robust platform for online gaming, quiet recently, gamers are reporting several network errors and the most common among them is error code bee that states: Removed from the game world. Please try again. When this issue arises the game disconnects from the servers preventing the player from staying in the game and after several users’ reports, we looked into this problem and illustrated some efficient solutions that will help you to terminate the destiny 2 codes issue.

What Causes the Error Code BEE on Destiny 2?
After a deep survey of the user reports on this issue we have concluded that there are numerous triggers that might trigger this error on your system when you try to play the game.
- You might encounter this error if your console is experiencing a weak signal strength from your internet connection.
- If the console’s cache contains corrupted files, then you might come across the error code bee.
- Destiny 2 needs some open ports to operate properly and if they aren’t available, this error might be triggered.
If you have encountered this issue on your system, proceed to the remedies that are indexed below.
Pre-tips:
It is a temporary glitch that can be solved simply by power-cycling the internet router. If you have just encountered an error code bee, then try to follow the most basic troubleshooting steps before you proceed to any major solution.
- Take the power adapter of your router out of the socket and wait for it to shut down.
- In the meanwhile, detach all the power cords form your console and disconnect it from the power source.
- Shift all the electronic devices away from the router so that they don’t interfere with its wifi signals. If possible, change the position of your router and bring it closer to the console.
- Now power cycle the router by inserting its power adapters into the socket and wait for it to start.
- When the router shows full signal strength, insert the power adapter of your console into the socket and wait until it is turned ON and afterward check if the error still persists.
- If multiple users are connected to the common router ask them to avoid file-sharing, video streaming, or other bandwidth-intensive tasks on any device connected to your network.
How can you fix the Error Code BEE on Destiny 2?
Solution 1: Switch to a wired connection
This problem mostly occurs on your console due to a network connectivity issue that might not be permanent. The most efficient remedy to terminate network errors is to simply increase the signal strength and the best way to do this is to switch to a wired connection from a wireless connection. All you have to do is to disable WiFi in the console and connect your console directly to the modem with the help of an ethernet cable. After doing this there would be no packet losses in the network while playing the game and it will run smoothly. After connecting your console directly to the router via LAN cable, it is recommended to power cycle your router by following the steps stated in the Pre-tips section above.
Solution 2: Clear cache and data
There might be a chance that your console’s data and cache are responsible for the game issues hence, they need to be wiped out. In order to clear the data and cache, power cycle your console and follow the steps stated below to resolve this issue.
For Xbox:
- Open the Xbox settings and proceed to the Network option.
- Navigate to Advanced settings and select Alternate Mac Address.

Alternate Mac Address - Now select the Clear cache option.
- A window will appear on the screen and from there select Yes and wait for the console to restart.

For Play Station:
- Press and hold the power button of your console and wait for it to shut down.
- Detach the power cords from your console and repeatedly press and release the power button to clear the console’s cache.
- Now, attach the power cable to your console and insert the power adapter into the switch and wait for the console to restart.
Solution 3: Apply port forwarding
In some routers, the users apprised that they aren’t able to open the closed ports but it is not a big deal. Fortunately, there is a way around by forwarding some essential ports of the router to set an Open NAT type. Follow the steps indexed below and check if the destiny 2 codes issue is rectified.
- Navigate to the Settings of your console and select Network Settings.
- Navigate to the IP Address section and note down the IP Address and the MAC address on a piece of paper.
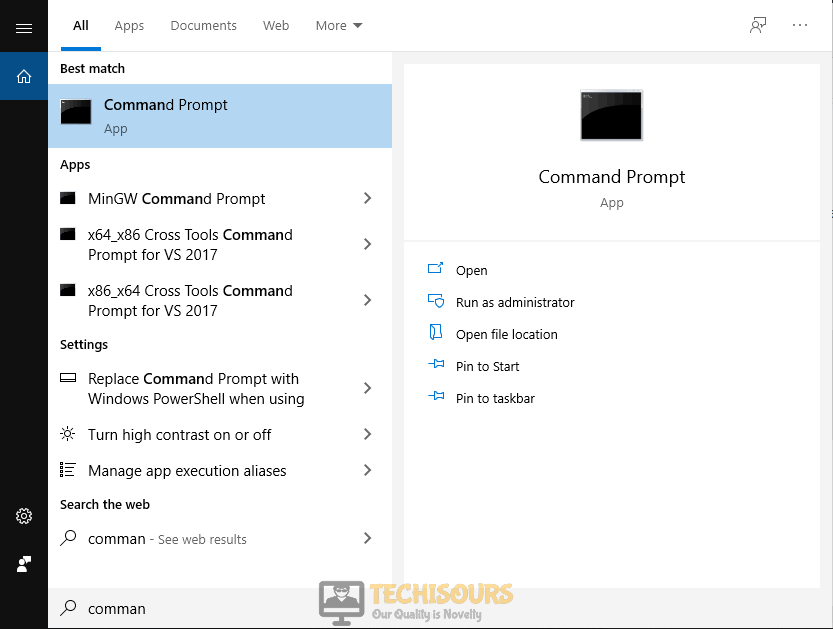
- Now start your computer and click the search button in the taskbar and type Command Prompt.

Type Command prompt - Type the following command in the prompt and hit enter to execute it.
ipconfig
- Scroll down until you see a setting for Default Gateway under Ethernet or Wi-Fi.

Note down Default Gateway - Copy the router’s Default Gateway IP Address and paste it in your browser’s search bar to open your Internet Settings.
- In the internet settings, enable the Manual Assignment option and add the IP address and Mac address that you noted before from the console. After typing in the addresses, click the Add button.
- Now navigate to the Port Forwarding section and open the following ports.
For Xbox:
UDP: 80, 500, 1200, 3074, 3544, 4500
TCP: 3074For Play Station:
UDP: 3074, 3478, 3479
TCP: 1935, 3478, 3480
For PC:
UDP: 3074, 3097, 4380, 27000-27031, 27036
TCP: 2705 – 27030, 27036 – 27037
- In the Server IP Address, enter the static IP address that we created.
- Apply the settings and power cycle your router. (If you are playing the game on PC then proceed to the steps below)
- Now click on the search button in the taskbar, search for Windows Defender Firewall and select Advanced settings.

Choose Advanced settings - From the left pane, click on Inbound Rules and select the New rule option from the right pane.

Choose New rule - Check the button parallel to the Port option and select Next.

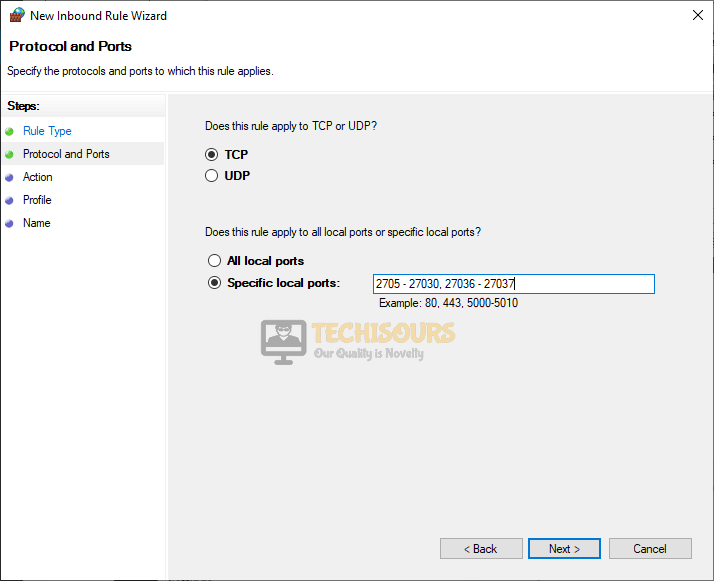
Select Port - Make sure that both options TCP and Specific local ports are checked and enter the TCP port numbers in the input field. Click next and follow the onscreen instructions.
Setting ports - Follow the same procedure to enter the UDP ports.
- Now, click on the Outbound Rules in the Advanced Security window and select New Rule.
Select Outbound Rules - Add the UDP and TCP ports here by following the same procedure you followed for Inbound Rules.
- If you have an operational Anti-virus software, disable it and restart your computer to check if the error is eliminated.


Solution 4: Enable UPnP in your router
In most of the cases, people encounter error code bee destiny 2 if they have set a Strict NAT type in their router which prevents their console to connect to the Bungie server. Hence, it is suggested to switch to Open NAT type from Strict NAT and enable the Universal Plug and Play (UPnP) feature in your router by following the steps given below.
- Click the search button in the taskbar and type Command Prompt.
Type command prompt - Type the following command in the prompt and hit enter to execute it.
ipconfig
- Scroll down until you see a setting for Default Gateway under Ethernet or Wi-Fi.
Note down Default Gateway - Copy the router’s Default Gateway IP Address and paste it in your browser’s search bar to open your Internet Settings.
- Navigate to the Firewall section and make a new Firewall level within your Router.
- Afterward, proceed to the Forwarding tab and select UPnP.
- Click on the Enable button parallel to UPnP to enable it.

Enable UPnP - Also, locate and disable Extended security and Assigned Games & Applications if they are already enabled.
- Apply the changes and restart your router to see if the error persists.

Solution 5: Tweak QoS Settings
Quality of Service (QoS) is an essential feature of the router that is used to prioritize traffic for the devices connected to your router. If your game unexpectedly disconnects from the server, then navigate to your QoS settings and give high priority to your consoles so that this error is rectified. Follow the steps to carry this task out:
- Click the search button in the taskbar and type Command Prompt.
Run Command prompt - Type the following command in the prompt and hit enter to execute it.
ipconfig
- Scroll down until you see a setting for Default Gateway under Ethernet or Wi-Fi.
Choose Default Gateway - Copy the router’s Default Gateway IP Address and paste it in your browser’s search bar to open your Internet Settings.
- Navigate to WPS wizard and select QoS settings from the left pane.
- Check the box parallel to Enable WMM settings and then click on Setup QoS rules.

Setup QoS rules - Click on Delete All button and then select Add Priority Rules.

Add Priority Rules - In the Priority Category, select the Mac address option.

Priority Category - Now click the button parallel to console you are using and set the priority to Highest. In our case, the console is Xbox.

Setting priority - Click Add and then Apply the settings.
- Now go back to Setup QoS rules window and click on Add Priority Rule.
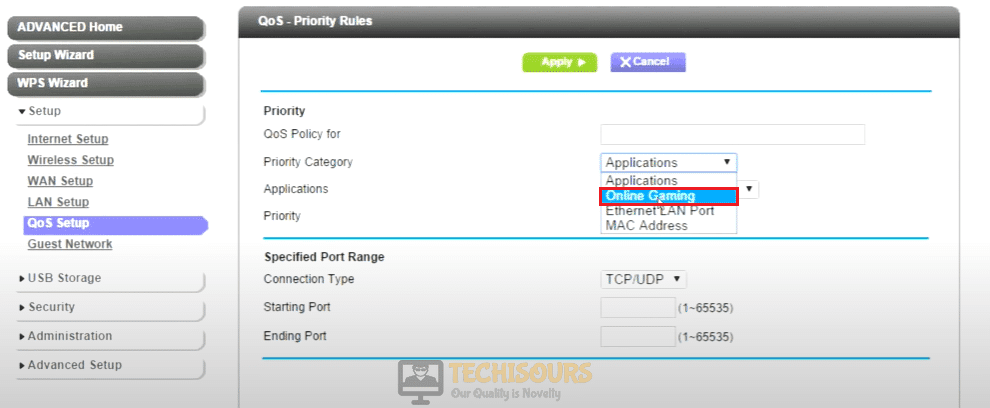
- In the Priority Category, select Online Gaming.

Online Gaming - In the Application drop-down menu, select Add a new game option.

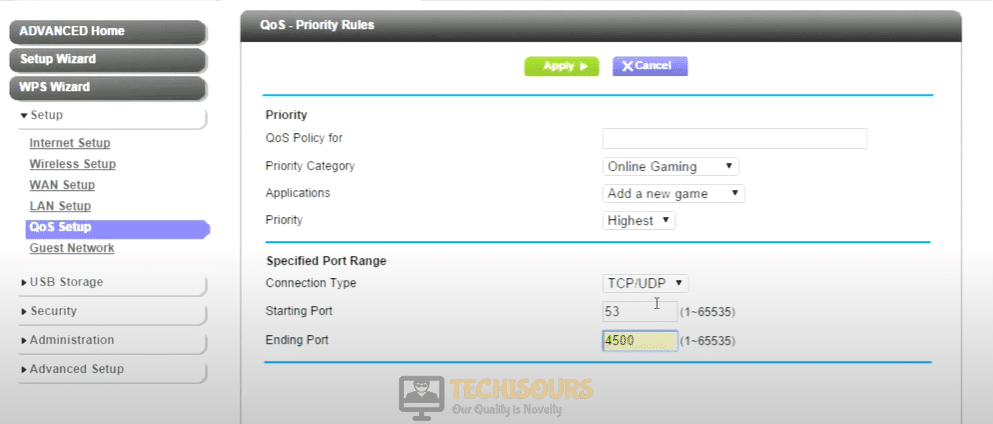
Add a new game - Set the priority to Highest and make sure that the connection type is set as TCP/UDP. Now enter the starting and ending ports that are required for your console (These ports are listed in the above solution).

Setting ports - Apply the settings and go back to the QoS setup window.
- Check the box parallel to Turn Bandwidth Control On and enable the button parallel to Automatically check internet uplink bandwidth option.

Turn Bandwidth Control On - Restart your router and check if the error is rectified.


Solution 6: Run a ping and network diagnostic test
If you want to check that your computer is communicating with a server properly, then the most efficient way is to carry out a Ping test. If the other applications on your system are working fine and the problem is with only this particular game, then you can run a Ping and a network diagnostic test on your computer. This will ensure that the problem isn’t at your end.
- Click on the search button in the taskbar and search for Command prompt.
- Type the following command and hit enter to execute it.
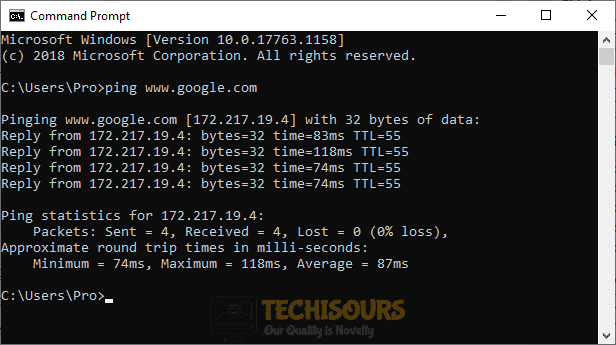
ping www.google.com

Ping test - If you get a reply successfully then proceed to run a Network Diagnostic test.
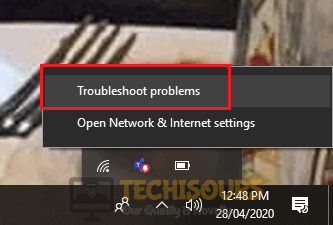
- Right-click on the WiFi icon at the bottom-right of the screen and select Troubleshoot Problem.

Network diagnostic test - When the scan is completed check whether the error code bee is eliminated and if it still exists proceed to the next potential fix below.
Solution 7: Replace network equipment
Several users have reported that the fault was with their old network equipment and when they got it replaced the error was eliminated. Monitor your network equipment by turning ON the hotspot of your mobile and connecting your console to that hotspot. If this remedy fixes this issue, then replace the Ethernet cable connected to the router first and check if the issue is resolved. If it doesn’t help, contact your Network Provider and replace your old router with a new one and get rid of this issue.
Solution 8: Contact your ISP
If none of the solutions explained above helped you to rectify the destiny 2 error code bee then it might be a chance that your area is experiencing high traffic at the moment that is preventing you to connect to the servers of Bungie. The last option you are left with is to contact your ISP, explain to them the exact issue, and wait for them to provide you a reliable solution to this problem.
Workaround:
The design engineers of this game have acknowledged the fact that the client and server connection might cease if the Bungie servers are under maintenance. If this is the case, then this is a temporary issue and the only thing you can do is wait for the maintenance to finish. Although you don’t receive a report on server maintenance, you can visit Destiny forums to check whether other people are having this problem at the same time too. If yes then it means that the servers are most probably down and you will get rid of this issue soon.
Hopefully, the error might have gone by now but if you need further assistance, contact here.