Easily Fix Couldn’t Load Plugin Error on Chrome
We were getting complaints from users that were facing the Couldn’t load plugin error on Chrome and we have recently gotten around to deploying some fixes for it. Keep in mind that these fixes have been derived from user feedback and have only been put in place after user verification that they work.

Some of them might work for a fixed number of people so make sure that you follow the solutions one by one until one of them fixes the couldn’t load plugin error for you. Also, make sure to read through the reasons due to which the error occurs in the first place.
What Causes the Couldn’t Load Plugin Issue on Chrome?
After going through the reasons due to which the error occurs, we concluded that these must be the most important ones.
- Outdated Browser: It is possible in some cases the the browser that you are using has been outdated and doesn’t support some of the latest advancements in internet technology. Therefore, we implore you to check if your browser is updated to the latest version in order to fix the Couldn’t Load Plugin Issue.
- Outdated Components: Some components of your browser might not have been updated along with the regular updates and these can sometimes break certain functionalities of the browser. Therefore, in order to fix the Chrome Couldn’t Load Plugin Issue, we recommend that you update the outdated components of the browser as well.
- Bad Sectors: In certain situations, bad sectors might be present on your disk or on your system’s registry due to which you are running into this error message. Therefore, we recommend that you run a scan to check and identify any errors.
- Flash Plugins: Adobe Flash Player has slowly died over the years and much of the plugins that require the use of flash content have died alongside them. Therefore, we recommend that you check to see if Flash plugins are being used.
- Corrupted cache: The browser might have built up some cache over time which might have been corrupted due to a storage failure. Therefore, we recommend that you check to see if clearing the cache and regenerating it is able to fix the Couldn’t Load Plugin Issue.
- Corrupted Installation: The browser might not be installed on your computer properly due to which you are running into the Adobe Flash Player Couldn’t Load Plugin Chrome issue. Therefore, we recommend that you go for a browser reinstallation and then confirm if you are able to rectify this issue.
Now that you have been taken through almost all the relevant triggers behind this issue, we can finally move on and start fixing the error message.
Rectifying the chrome couldn’t load plugin issue:
Solution 1: Update Your Browser
- Go to the “Customize and Control Google Chrome” menu located on the most top right side of your browser under the “Close button”.
- Locate the “Help option or About” section of your browser.

Choose Help Option - Check if your browser has any updates available. If not, it will be stated that your browser is up to date along with the version.
- If you see the “Update” option available, simply click on it and wait for your browser to finish the process.

Update Chrome - Reload your browser and see if the couldn’t load plugin google chrome pdf error persists or not.


Solution 2: Update Chrome Components
- Search for “chrome://components/” in the search bar and then click on “Check For Updates” for each component to see if any updates are present. If any update shows up, you should “Install” them straight away.
- Once done, “Restart” your system, open it and try to perform the same action again.
Solution 3: Delete the PepperFlash Folder
- Press the “Window + R” keys together on your keyboard to open up the “Run” dialog box. In the Run prompt, type in or paste “%localappdata%” to open the “Local Folder”.

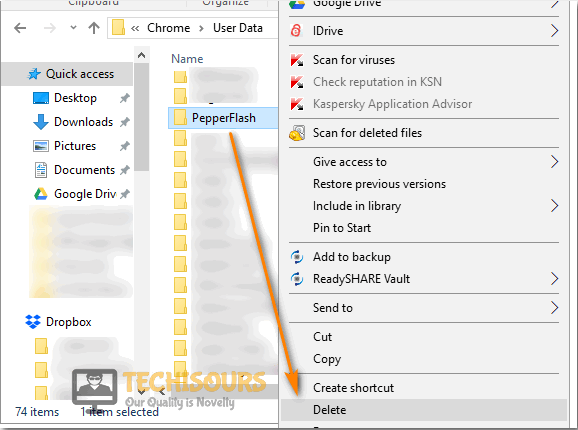
Tying in “%localappdata%” - Follow the directory “Google > Chrome > User Data” and locate the “PepperFlash” folder within “UserData”.
- Right-click on the “PepperFlash” folder and select “Delete” from the context menu and check if the error has been resolved.

Delete PepperFlash Folder

Solution 4: Rename the pepflashplayer.dll File
- Press the “Window + E” keys together on your keyboard to open up the “File Explorer” window and then navigate to “This PC”.
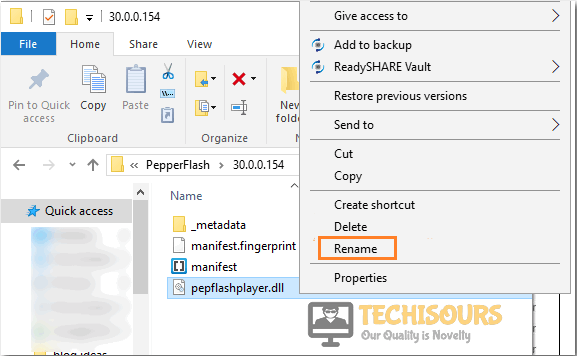
- Follow the path indexed below and locate the “pepflashplayer.dll” file within the “PepperFlash” folder.
C:\Program Files (or Program Files (x86)\Google\Chrome\Application\(version of your Google Chrome)\PepperFlash
- Right-click on the “pepflashplayer.dll” file and then select “Rename” in the context menu. Afterward, rename the file to “pepflashplayerX.dll”.

Rename the PepFlashPlayer File - In the end “Restart” your browser and check if you’re still facing the error or not.
Solution 5: Stop Adobe Shockwave Flash Process
- Press the “Ctrl + Shift + Esc” keys together on your keyboard to open up the “Task Manager” window and here locate the file named “Shockwave Flash, Plugin Broker: Shockwave Flash or Plugin: Shockwave Flash” (you can have any one of these names).
- Then click to select “End Process”, restart your browser and check whether chrome couldn’t load plugin issue is rectified.

Stop Shockwave process

Solution 6: Run An SFC and DISM Scan
- Press the “Window + S” keys on your keyboard, type in “cmd” in the search bar and press “Enter” to open up the “Command Prompt” window. Click on “YES” if you come across any permission prompts.
- In the command prompt window type in or paste “sfc /scannow”. Don’t forget to give a single space between sfc and /scannow and remove the quotation marks.
- Afterward, press “Enter” to run this command on your system.
- Now launch a DISM scan, paste “DISM.exe /Online /Cleanup-image /Restorehealth” in the CMD terminal, and then hit “Enter”.

DISM SCAN - Lastly, “Restart” your system and observe if the error got removed now.

Solution 7: Check If Chrome Allows To Use Flash
- Open your browser and type in or paste “chrome://settings/content” in the address bar and click on “Flash” (jigsaw piece icon) in the “Content Section”.
- Make sure that the “Ask First (Recommended)” option is turned “ON”, if not, then click on the toggle switch to do so and afterward “Restart” your browser.
Solution 8: Disable Flash Plugins
- Go to the “Customize and Control Google Chrome” menu located on the most top right side of your browser under the “Close button”.
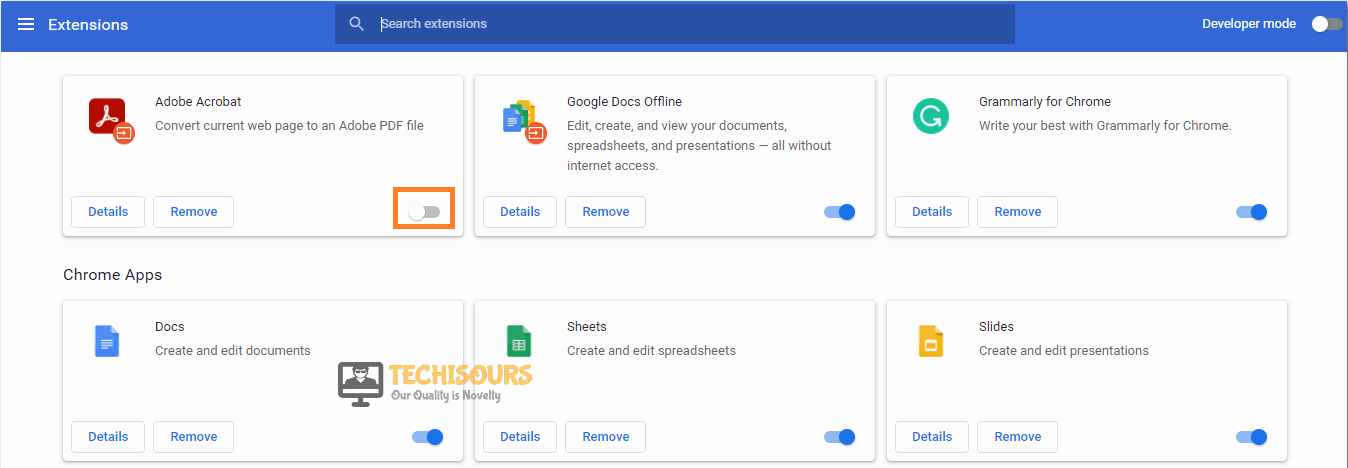
- Hover over the “More Tools” option of your browser and select “Extensions” from the context menu.

Choose Extensions - In the list of plugins installed on your computer, “Disable” or “Remove” any plugins related to “Adobe Flash” and restart your computer.

Disable Chrome Extensions - Moreover, click on “Details” and click on “Disable” to deactivate “PPAPI Flash”. Now “Restart” your browser and check to see if the error got fixed.

Solution 9: Change Adobe Reader Settings
- Press the “Window + S” keys simultaneously on your keyboard and type in or paste “Adobe Reader” in the search bar and press “Enter”.
- Now press the “Ctrl + K” keys together to open the “Preferences Window” and navigate to “Internet” from the list of categories in the left menu pane.
- Click on the “Display PDF Documents In The Web Browser” option to disable it if it’s already “ON” or vice versa.

Disable PDF Documents In Web Browser - Then click on “OK” to save in your settings and “Restart” your browser.

Solution 10: Disable PDF Isolation
- Open your browser and type in or paste “chrome://flags/” in the address bar and press “Enter”.
- Locate “PDF Isolation” and disable it by clicking on the dropdown menu ahead and selecting “Disable” from the three options.
- Once getting it disabled now observe if it helps in getting rid of the error.
Solution 11: Fresh Windows Installation
- Download the bootable windows media creation tool ver1803 on a USB Flash drive.
- Restart your system, and don’t click on “OK” when the error pops up on the screen.
- Double-click on the “Media Creation Tool” from the USB flash drive to “Run” it.
- Click on “Accept” to agree with the license and then select the “Create Installation Media (USB Flash drive, DVD, or ISO File) for another PC” option.
- Select your desired “Language” and choose the “Edition” as “Windows 10” and “Architecture” as “64 bit (x64)”.

Select Language, Edition and Architecture - Next, select the “ISO File” option. Choose where to install your file and click on “Save” to start downloading. Afterward, click on “Finish” when you’re done.
- Download and install the latest version of Rufus 3.13 on the same USB.
- Double click on Rufus and select the “Media Creation Tool” by clicking on the “Browse” button and locating it.
- Lastly, click on “Start” for a clean installation of “Windows 10” and after the installation process is complete see if you got rid of the error.

Solution 12: Reinstall Chrome
- Press the “Window + X” keys simultaneously on your keyboard and in the pop-up menu, click on “Apps and Features/Programs and Features”.
- In the “Apps and Features/Programs and Features” window, locate “Chrome” and right-click on it to select “Uninstall or Uninstall/Change”. Click on “YES” on the permission prompt to uninstall.

Uninstalling Chrome - Now make sure to restart your computer in between by pressing “Alt + F4” on your keyboard and selecting “Restart” from the drop-down menu.
- Now download and install Google Chrome onto your system after a fresh restart.

Solution 13: Clear the Browser Cache
- Open your browser and click on the “Customize and Control Google Chrome” depicted as the “3 vertical dots” on the left of your address bar.
- Navigate to “Settings” from the drop-down menu. Scroll all the way down and click on the “Advanced” option.
- In the “Privacy and Security” tab, choose to select “Clear Browsing Data.”
- Go to the “Advanced” tab of the new pop-up window and select the time range to “All Time”.

Clear browser’s cache and cookies - Make sure to check all the boxes and then click on “Clear Data” to resolve the adobe flash player couldn’t load plugin chrome problem.

Solution 14: Uninstall Adobe Flash NPAPI Plugin
- Proceed to the Start menu and type in “Control Panel” in the search bar. Then click to open it up from the list of search results.
- Here navigate to the “Programs > Programs and Features” section respectively.
- In the pop-up window scroll down through the list of installed programs to locate “Adobe Flash NPAPI” and right-click on it to select “Uninstall”.

Uninstall Adobe Flash Player NPAPI - Follow the on-screen instructions to uninstall the program completely and then “Restart” your browser to see if the error got eradicated now.

Solution 15: Open Fewer Tabs
A small workaround solution can be to close unnecessary tabs on your browser or simply opening fewer tabs to avoid facing couldn’t load plugin google chrome pdf error.
Hopefully, the detailed fixes listed above will help you get rid of the error easily but if the error still persists then you may Contact Us here and we’ll further look into the problem for you.