Fixes
What is TAP Windows Adapter V9 and How to Remove it
A lot of users have been concerned about the presence of the TAP Windows Adapter V9 on their computer and have asked us what it is. In this guide, we have listed what the Adapter is and how you can remove it from your computer.

What is Tap Windows Adapter V9?
TAP-Windows Adapter is a virtual network interface and it helps your VPN to connect to its servers and bounce your connection off that. The network driver installed by the VPN is named TAP-Windows Adapter V9 and it is very important for the VPN to be useful.
Removing the TAP-Windows Adapter V9:
- Press “Windows + E” to launch File Explorer and from there, go to Local Disk C (Or the Partition Where VPN is installed). In here, click on “Program Files” and in there, click on the “TAP-Windows Adapter V9” Folder.
- Press the “Shift + Delete” option to remove it from your computer.
It is possible that the Driver might be reinstalled by the VPN Automatically after it is removed from the computer. Therefore, we suggest that you try to uninstall the VPN to get rid of it completely.
- Press “Windows + R” to launch the Run prompt, type in “Appwiz.cpl” and press “enter” to launch the application wizard.

Typing in “Appwiz.cpl” and pressing “Enter” - Right-click on your VPN from the list and select “Uninstall”.
- Follow the on-screen instructions to remove it from your computer.

Reinstall TAP-Windows Adapter to Fix Issues:
- Press “Windows + R” to launch the Run prompt, type in “devmgmt.msc” and press “enter” to launch the device management window.

Typing devmgmt.msc in the Run prompt - From there, expand the “Network Adapters” option and from there, right-click on the “TAP-Windows Adapter” and select the “Uninstall” button.

Uninstalling the Driver Option - Follow the on-screen instructions to completely remove this adapter from your computer.
- After this, launch your VPN and the driver will be reinstalled on your computer.
- Check to see if doing so fixes the Tap Windows Adapter V9 not working issue.


Solution 1: Troubleshoot Internet Connection:
- Press “Windows + I” to launch into settings, from there, click on “Update & Security” and select “Troubleshoot” from the left side.

Clicking on “Update and Security” - From there, click on “Additional troubleshooters” and select “Internet Connections” from the list.

Clicking on Additional Troubleshooters - Select the “Run the Troubleshooter” button and wait for the troubleshooting process to be finished.
- Check to see if doing so has fixed the Tap Windows Adapter V9 issues.


Solution 2: Reset Windows
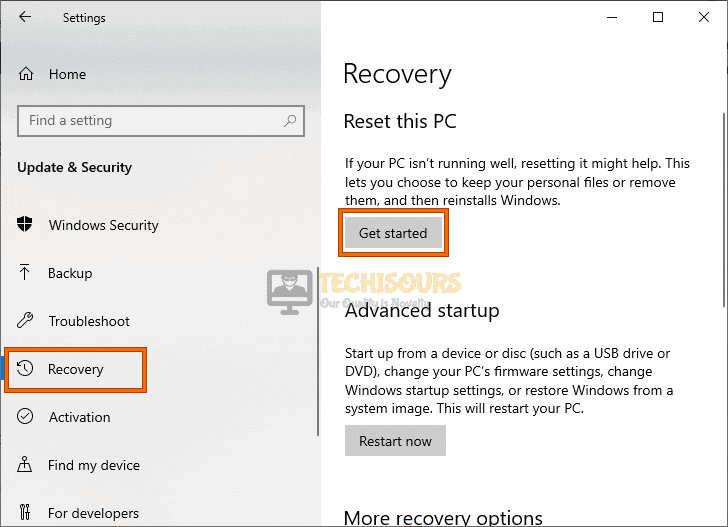
- Press “Windows + I” to launch into settings, click on “Update & Security” and select “Recovery” from the left side.

Select Recovery Option - After this, under the “Reset this PC” heading, click on the “Get Started” option.

Reset this PC - From here, follow the on-screen instructions to completely reset your Windows.
- Check to see if the Tap Windows Adapter V9 problem has been fixed.

Solution 3: Delete Tap0901 Files
- Following the solution process above, remove the TAP Windows Adapter V9 from your computer.
- Launch into the File Explorer by pressing “Windows + E” and click on the “Search” bar at the top right.
- Search for “tap0901” in the search bar and wait for the search to display results.
- From the results, make sure to delete all the “Sys and tap0901.dll” files.
- After this, search for “tapoas” and remove all the files shown in the results.
- Now, press “Windows + R” and type in “regedit” and press “Enter”.
- Inside here, navigate to the following address.
Local Machine/ System/ Current Control Set/ Services
- In the Service folder, on the right side, right-click on the “tap0901” folder and select “Delete”.
- Now, search for the tapoas folder and remove it from your computer as well.
- Check to see if doing so has fixed the issues with the Tap Windows Adapter V9.
You can contact us for further troubleshooting of this issue.