Easily Fix Hamachi Cannot Get Adapter Config [Complete Guide]
The Hamachi VPN users have been getting the Hamachi Cannot Get Adapter Config error while trying to connect to the service and in this article, we have gathered some solutions that you can apply on your computer to get rid of this issue.

Make sure that you go through the reasons due to which the error message occurs and also implement the solutions one-by-one until one of them fixes the issue for you. Also, make sure to
What Causes the Hamachi Cannot Get Adapter Config?
After going through a certain set of instructions, we came to the conclusion that the following must be the most important reasons due to which it occurs.
- Admin Permissions: In certain conditions, it is required that the Admin permissions have been provided in order to ensure that the Hamachi Cannot Get Adapter Config error doesn’t occur. Therefore, it is recommended that you provide the VPN client with Admin permissions to ensure that the error is fixed.
- Antivirus/Firewall: The Antivirus or Firewall installed on the system might be preventing it from being able to properly connect to its services which can sometimes cause the Hamachi Cannot Get Adapter Config error. Therefore, we recommend that you try and fix it by disabling the Firewall or the Antivirus.
- Outdated Drivers: The Drivers installed on your computer might be missing or they might be outdated due to which the Hamachi Cannot Get Adapter Config error is being triggered. Therefore, we suggest that you try and update them to fix the issue.
- Legacy Drivers: In certain situations, we suggest that you try and install the Hamachi VPN as Legacy hardware in order to ensure that the Hamachi Cannot Get Adapter Config error doesn’t occur again.
Now that you have successfully gone through most of the reasons behind its occurrence, we can finally start implementing the solutions.
Before You Start:
To begin with, simply reboot your computer as some users have said that rebooting the system solved the problem effectively. To perform a reboot simply hold down the Power button on your PC for almost around 5-10 seconds until the computer turns off. Then wait for a while and turn on the computer again. Now check to see whether the error appears on your screen or not.
Fixing the Hamachi Cannot Get Adapter Config:
Solution 1: Run Hamachi With Admin Privileges
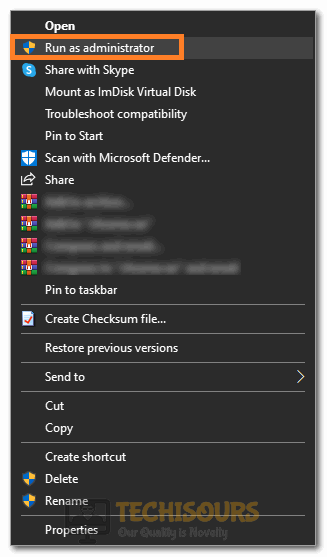
- Right-click on the “Hamachi” icon and click on “Run As Administrator”.

Clicking on the Run as Administrator option - If this solves the issue then it’s fine, or else try a few of the next steps listed below.
- Right-click on the “Hamachi” icon and select “Properties”. Go to the “Compatibility” tab and click on it. Now select “Run this program as an administrator”.

Running the Program as an Administrator - Click “Apply” and after that click on “OK” to save the changes. This will run the “Hamachi” with the admin rights.
- Check to see if doing so fixes the Hamachi Cannot Get Adapter Config error.

Solution 2: Disable Antivirus and Firewall
- Press “Windows” + “R” to open the Run prompt, type in “Firewall.cpl” and press “Enter”.

Typing in “firewall.cpl” - Click on the “Advanced Settings” from the left side and select the “Windows Defender Firewall Properties” option.
- Click on “Domain Profile” from the top and select “Customize” in front of the “Protected Network Connections” button.

Clicking on the Customize button - In here, uncheck the “Hamachi” button.
- Next click on “Apply” to save the changes and hit the “OK” button to close the Windows Defender Firewall window.
- Now check whether the error still persists or not.


Solution 3: Re-Enable the Hamachi Connection
- Press “Windows” + “R” to open the Run prompt.
- Now in the text box type in, “ncpa.cpl” and press “Enter” to open “Internet Connection Settings” in the Control Panel.
ncpa.cpl - Now look for “Hamachi” and right-click on it and choose “Disable” for the drop-down menu. Wait for a couple of minutes and again right-click on “Hamachi” and this time select “Enable”.
- Now check if the issue is resolved or not.

Solution 4: Allow Hamachi On Kaspersky
- Press “Windows” + “R” to open the Run prompt, type in “Devmgmt.msc” and press “Enter” to launch into the device manager.

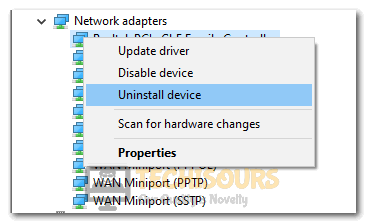
Typing devmgmt.msc in the Run prompt - Here navigate to “Network Adapters” and click to expand it. Now right click on “LogMeIn Hamachi Virtual Ethernet Adapter entry” and select “Uninstall Device”.

Clicking on the “Uninstall Device” option - Now open “Kaspersky” and go to “Settings”. After that go to “Protection” and navigate to “System Change Control”. It could be possibly blocking the “Hamachi Network” so disable it temporarily until we reinstall the “Himachi”.
- Now reinstall “Hamachi” and Kaspersky should detect a new network “Hamachi” and ask you about it. If it asks then click on “Trusted” so that it allows that network.
- Go to “Settings” and then “Firewall”. After that, navigate to “Networks” and make sure that the network type of “Hamachi” is “Trusted” or “Public”.
- Finally, proceed to check if the error gets settled or not.


Solution 5: Update the Hamachi Drivers
- Press “Windows” + “R” to launch Run, type in “Devmgmt.msc” and press “Enter” open device manager.
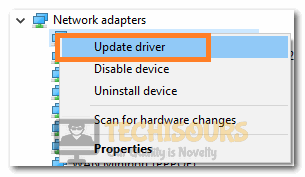
Typing devmgmt.msc in the Run prompt - Navigate to the “Network Adapters” option and click to expand it. Now right click on “LogMeIn Hamachi Virtual Ethernet Adapter entry” and select “Update Drivers”.

Clicking on the Update Drivers option - Follow the instructions given on-screen to update the drivers.
- Once the drivers get updated successfully then proceed to check if the problem got fixed.
Solution 6: Microsoft Network Adapter Multiplexor Protocol Error
- Press “Windows” + “R” to open Run, type in “Control Panel” and press “Enter” to open it.

Typing in Control Panel - Then click on the “Network and Internet” section and next click on “Network and Sharing Center”.
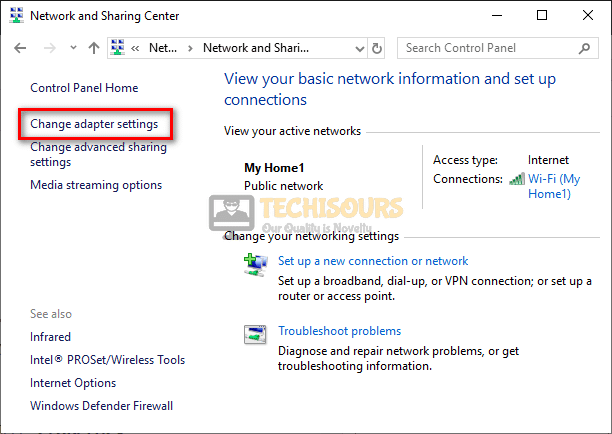
- Next click on “Change Adapter Settings” which is on the left side of the window.

Change adapter settings - Now double click on “Hamachi” to open the “Properties” and navigate to “Microsoft Network Adapter Multiplexor Protocol” in the list of items.
- Make sure that it is unchecked. If it is checked then uncheck it. After that click on “OK”.
- Then check if the Hamachi Cannot Get Adapter Config error got resolved or not.


Solution 7: Install Hamachi As Legacy Hardware
- Press “Windows + R” to launch Run, type in “devmgmt.msc” and press “Enter” to launch it.
Typing devmgmt.msc in the Run prompt - Navigate to the “Network Adapters” option and click to expand it. Now right click on “LogMeIn Hamachi Virtual Ethernet Adapter entry” and select “Uninstall Device”.

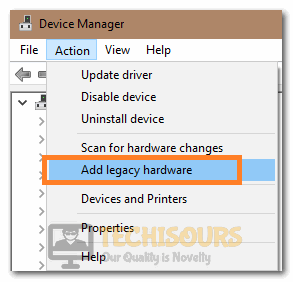
Clicking on the “Uninstall Device” option - Click on “Action” from the top and select the “Add legacy hardware” from the list.

Selecting the “Add Legacy Hardware” option - After that, a window will open, here click on “Next”. Now select “Install the hardware that I manually select from a list (Advanced)” and click on “Next” again.
- Now click on “Show All Devices” and hit the “Next” button.
- Click on “Have Disk…” and the browser window will appear. Now browse the folder where you have installed “Hamachi” and select the “(.inf) driver file” from the folder.
- When completed with all of the above steps then check to see whether the Hamachi Cannot Get Adapter Config error still persists or not.
Solution 8: Start the LogMeIn Hamachi Tunneling Engine Service
- Press “Windows + R” to open Run.
- Type “services.msc” in the textbox and press the “Enter” key. Now in the list of services navigate to the “LogMeIn Hamachi Tunneling Engine Service” and right-click on it. After that select “Restart”.

Typing in “services.msc” - Now again right-click on it and select “Properties”. Go to the “General” tab and navigate to “Startup Type”. Set it to “Automatic”.
- Now check if the error got settled successfully.

Solution 9: Change the Priority Of Network Adapters
- Press “Windows + R” to open Run, type in “Control Panel” and press “Enter” to launch it.
Typing in Control Panel - Here click on the “Network and Internet” option and next select “Network and Sharing Center”.
- After that click on “Change Adapter Settings” which is on the left side of the window.

Change Adapter Settings - Now double click on “Hamachi” to open the “Properties”. Navigate to “Microsoft Network Adapter Multiplexor Protocol” in the list of items.
- Make sure that it is unchecked. If it is checked then uncheck it. After that click on “Properties”.
- Now click on “Advanced..” and go to the “IP Settings”. Here uncheck the “Automatic Metric” and type “9000” in the text box next to “Interface Metric”.
- Hit “OK” to save the changes and check if the error got fixed now.
Hopefully, you must have been able to fix the error until now but if it continues to stay then feel free to reach us out here for further assistance.