12 Methods to Fix Unable to Send Message to Many Unsent Multimedia
In today’s digital age, we heavily rely on our smartphones for communication with our friends, family, and colleagues. Texting, calling, and sharing multimedia has become an integral part of our daily routine. However, there are times when we encounter technical difficulties while trying to send a multimedia message, and one of the common issues is unable to send message to many unsent multimedia.
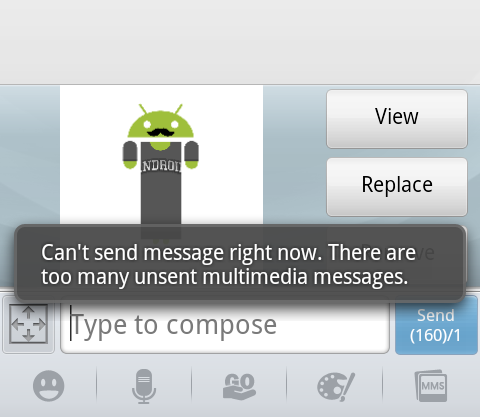
When you encounter this error message, it means that you have too many multimedia files waiting to be sent, and your device cannot process any more files until you clear the queue. Most smartphones have a limit on the number of unsent multimedia files that can be stored in the queue. If you exceed that limit, you will encounter the unable to send message to many unsent multimedia error message hence follow the guide indexed beneath to get rid of this issue.
Before You Start:
Before proceeding to the major fixes below mentioned are some basic remedies that you can try:
- Clear the multimedia queue: The first thing you should try is to clear the multimedia queue. Go to your messaging app, and look for any unsent multimedia messages. Delete them and try sending your message again.
- Reduce the size of your multimedia files: Multimedia files, such as photos and videos, can take up a lot of space in the queue. If you are trying to send a large file, try reducing its size by compressing it or resizing it. There are many apps available that can help you do this.
- Disable Wi-Fi and use mobile data: Sometimes, the issue can be with your Wi-Fi connection. Try disabling Wi-Fi and using your mobile data instead. This can sometimes resolve the issue.
- Restart your device: If none of the above solutions work, try restarting your device. This can help clear any temporary glitches that might be causing the issue.
How to rectify unable to send message too many unsent multimedia issue:
Method 1: Fix Your Network Connection
Try checking the network connection on your device which may help you resolve the error. Proceed with the steps mentioned below:
- If you are sending multimedia messages from your cellular service, you first need to verify if you have subscribed to the necessary plan. You also need too ensure that you are receiving consistent and robust signals from your network service provider.
- When you are sending multimedia messages over a WiFi network and still encounter this error it can be attributed to WiFi connection problems. You can solve this by simply removing your router first and then reconnecting it back. You can do so by pressing the “Power” button on your router, once the power gets off simply “Unplug” the router from the main power switch. Now wait for a couple of minutes, plug the WiFi router back and turn “ON” the power button.
- If you are sending multimedia messages over a mobile data network, encountering this error can be attributed to a weak data connection on your phone. Therefore, check to see if you have an active internet plan on your mobile device and also if you are connected to strong and stable network signals.
Method 2: Enable the Multimedia Option
This error may also occur if the multimedia option isn’t enabled on your device. If so, try switching it “ON” using the steps below and then see if the unable to send message to many unsent multimedia messages problem got removed:
- Grab your mobile, locate the “Settings” option and click to open it.
- Tap on the “Network & Internet” option and then select “Mobile Network”.

Choose Network & Internet Option - Click to choose the “Preferred Network” and next tap on “Advanced” to expand the options.
- Then choose “Access Point Names” and tap on the “Menu” icon represented by three dots in top right corner of the window.

Choose Access Point Names Option - Here select the “Reset to Default” option.
- Next tap on the “Add” button represented by the plus sign in the top right corner of the window.
- In the following pop-up window set the appropriate “MMS Information” for “Name”, “APN”, “MMSC”, “MMS Proxy”, “MMS Port”, and “APN” type.

Tweak MMS Information Option - Once you’ve configured the appropriate settings, next tap on the “Menu” button in the top right corner and click on the “Save” button.


Method 3: Delete Some Unsent Messages
If the memory capacity of your electronic device got full, it is also quite likely to give rise to this error. Audio and video files are considerably large than plain text messages and can potentially lead to a memory fill-up. In such case, open the MMS outbox, locate the unsent pending messages and delete a few of them. This will create sufficient space in your device memory which will allow you to send messages successfully.
Method 4: Delete All Failed Multimedia Messages
A bunch of users also reported that the error occurred just because of the accumulation of a lot many unsent/failed multimedia messages in the Outbox folder. To resolve this, try deleting all of the failed multimedia messages by following the steps below:
- On your mobile open up the “Messaging” application.
- In the pop-up window open the chats which have unsent multimedia messages.
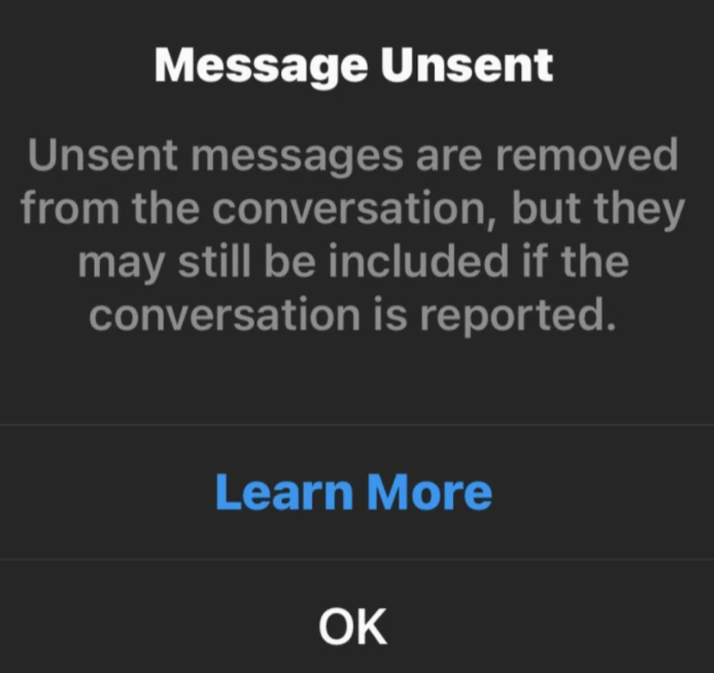
- Hold on to the unsent message and from the pop-up menu tap on the “Delete” button.

Deleting the Unsent Message - Similarly, you can try deleting all of the unsent multimedia messages and then see if the error got resolved.
Method 5: Reduce the Size of Your Multimedia Files
Multimedia files, such as photos and videos, can take up a lot of space in the queue. If you are trying to send a large file, try reducing its size by compressing it or resizing it. There are many apps available that can help you do this.
Method 6: Force Stop the Messaging Application
The improper functioning of the messaging app can also potentially lead to the occurrence of unable to send message to many unsent multimedia messages android error so you can try to force stop the app and then see if it functions properly. Follow the steps below to do so:
- Grab your phone and click to open “Settings”.
- Then tap on “Apps & Notifications” and click to expand all of the applications.

Clicking on “Apps and Notifications” - From the displayed list click to select “Messages” and in the following window finally select “Force Stop”.

Method 7: Clear the App Cache
In order to clear the cache data from the Messaging application proceed with the steps below:
- Grab your phone and click to open “Settings”.
- Then tap on “Apps & Notifications” and click to expand all of the applications.
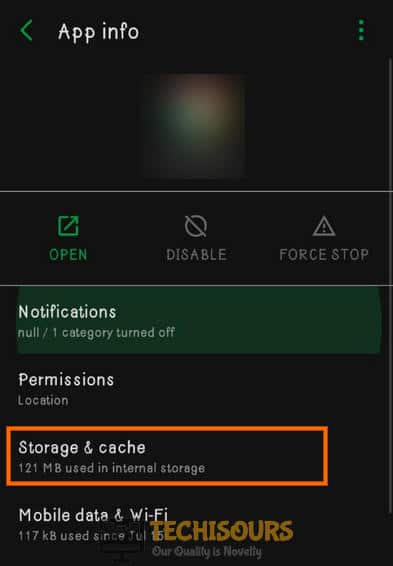
Clicking on “Apps and Notifications” - From the displayed list click to select “Messages” and in the following window select “Storage & Cache”.

Select Storage and Cache Option - In the pop-up window finally select “Clear Cache” and then check to see if the error got removed.
Method 8: Disable Auto-Downloading MMS Option
If auto-downloading MMS option has been enabled on your device it can also lead towards a failure to send multimedia messages. You can try to disable this setting and then check if you can get through the problem. Proceed with the steps below:
- Open your mobile and click to select the “Messaging” application.
- In the pop-up window click to select the “Menu” represented by three dots icon in the top-right corner and from here select “Settings”.
- In the following window choose to select your “Network Provider”.

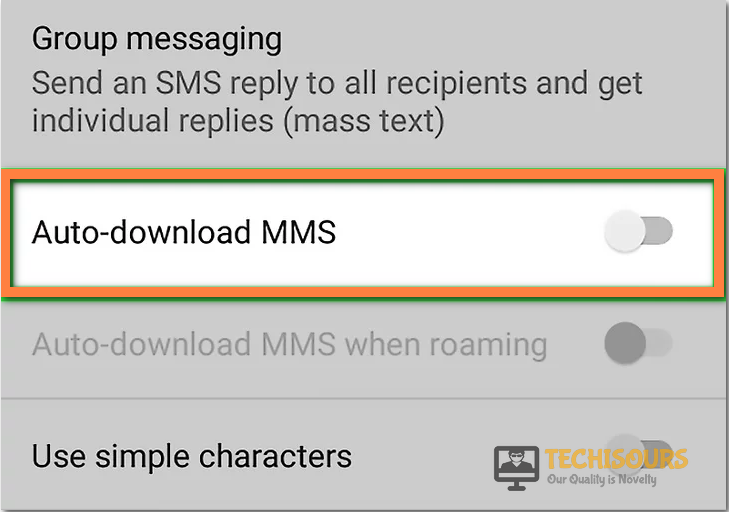
Choose Network Operator Option - On the following tab locate and turn off the “Auto-Download MMS” setting.

Turn OFF Auto-download Option

Method 9: Update the Messaging Application
Most of the time the outdated applications can also cause a conflict with the operating system, in turn giving rise to this error. Therefore, in order to avoid this, you need to check Google Play Store for the latest updates available. To do so, proceed with the steps below:
- Open your mobile and search for “Google Play Store” in the search bar, then click to open it.
- Then click on the “Menu” button in the top left corner represented by three dots and select “My Apps & Games” option.

Clicking on “My Apps and Games” - Next click on the “Updates” tab and press the “Refresh” icon.
- Finally click on the “Update All” option and wait for all the applications to get updated and installed.

Method 10: Update Your Device Software
If you aren’t able to resolve the error even after updating the application, next try installing the latest software updates available on your device. To do so carry out these steps:
- Open your mobile, search for “Settings” in the search bar and click to open it.
- From here scroll down to locate the “About Phone” option and click to select it.

Choose About Phone Option - Then select “Software Update > Check for Updates” options respectively.
- Your device will now check for any latest updates available and will install them automatically on your system.
- Once the process is complete then proceed to verify if the error got solved.

Method 11: Perform A Factory Reset
Performing a factory reset will erase all of your existing data and will restore it to the default settings. So, make sure that you back up all of your important data including any contacts, photos, videos etc. and then perform the reset as mentioned in the steps below:
- Open up your Android phone and click to open the “Settings” option.
- Here find “System” or “System & Device” section.
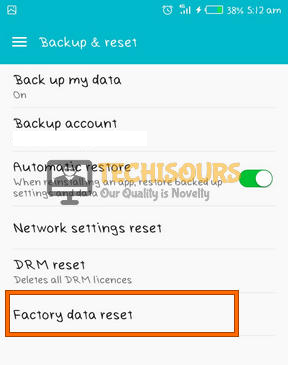
- In the System settings window navigate to find “Reset” or “Backup & Reset” option and click to select it.
- In the following window locate and select “Factory Data Reset”.

Choose Factory Data Reset Option - Now a pop-up message will appear, here click to “Confirm” the reset.
- Then follow the on-screen instructions to complete the process smoothly and finally check to see if the error has been resolved.
Method 12: Use a Third-Party Application
If you’ve exhausted all of the methods listed above and still got no better results then an alternative approach is to use another third-party messaging application. It is recommended to use that app which has been recommended by a substantial number of users with a rating of 4 stars or higher. Simply download your chosen app, follow the on-screen instructions to complete its installation, and then try sending MMS messages through your new messaging application.
Workaround:
It’s essential to keep in mind that the multimedia error message is a common issue that can happen to anyone. It doesn’t necessarily mean that there is something wrong with your device. However, if the issue persists even after trying all the methods mentioned above, you should contact your device manufacturer or service provider for further assistance.