Easily Fix Stereo Mix not Working on Windows 10 [Complete Instructions]
Stereo Mix is a neat little feature on Windows that allows you to broadcast the sound being outputted to your speakers through your microphone or record it at your convenience. However, some people have been facing issues with the Stereo Mix not Working on their computers. In this article, not only have we listed the exact steps that you can undertake to fix it completely, but, we have also listed the reasons due to which this issue occurs in the first place.

Why is the Stereo Mix Not Working?
The following could be the most important hurdles that might be preventing the Stereo Mix feature from working properly on your computer.
- Default Recording Device: It is possible that the Stereo Mix not Working issue is being triggered because the stereo mix feature has not been set as the default recording device. Therefore, we strongly suggest that you try to set it as the default device as indicated in the steps below.
- Misconfigured Settings: Sometimes, if certain settings with the Sound Driver, Windows or some other software haven’t been set properly, the Stereo mix feature cannot work. Therefore, we suggest that you follow the solutions below to make sure that everything is configured perfectly.
- Microphone Acess Blocked: If the microphone access has been blocked on your computer, the Stereo Mix feature will not work properly. Therefore, we suggest that you grant applications Microphone access as we have mentioned in the solutions below.
Now that we have just gone through some of the most elemental reasons behind the occurrence of this issue, we can finally start implementing the solutions.
Fixing the Stereo Mix not Working Issue:
Solution 1: Set Stereo Mix as Default
Don’t use an HDMI audio device as using HDMI will bypass your sound card and for stereo Mix to work, the sound has to pass through the sound card.
- Press the “Windows + R” keys simultaneously to open the “Run” prompt, type the following command and click “OK”:
mmsys.cpl
- Now proceed to the “Recording” tab and check if there is a “Stereo Mix” option or not. If there is no Stereo Mix option then right-click on any empty space and tick the “Show Disabled Devices” and “Show Disconnected Devices” options.

Show Disabled Devices - Right-click on the “Stereo Mix” and select “Enable” and afterwards right-click and choose the “Set as default device” option.
- Click on the “Apply” button and then click “OK” to save the changes.
- Check to see if you have been able to fix the Stereo mix not Working with Audacity issue.

Solution 2: Disable Microphone Temporarily
- Press the “Windows + R” keys simultaneously to open the “Run” prompt, type the following command and click “OK”:
mmsys.cpl
- Now proceed to the “Recording” tab, right-click on the “Microphone” and select the “Disable” button.
- Click on “Apply” and then on “OK” to save the changes.
- Now check if the stereo mix not working with HDMI error is resolved or not.
Solution 3: Tweak Speaker’s Volume Settings
- Press the “Windows + R” keys simultaneously to open the “Run” prompt, type the following command and click “OK”:
mmsys.cpl
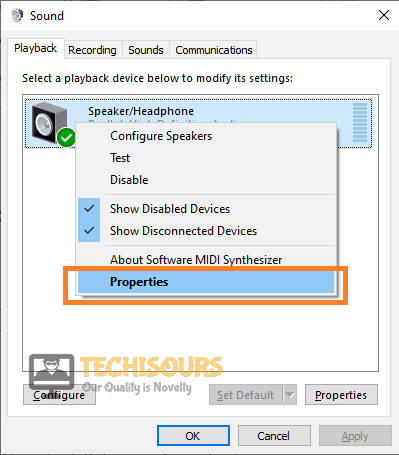
- Now proceed to the “Playback” tab, right-click on your “Speaker” and select “Properties”.

Click on Properties - Click on the “Levels” tab and Unmute the Audio and Microphone and try adjusting the volume.

Unmute the Microphone and Audio Output - Click on “Apply” and then “OK” to save the changes.

Solution 4: Tweak Microphone Options
- Press the “Windows + R” keys simultaneously to open the “Run” prompt, type the following command and click “OK”:
mmsys.cpl
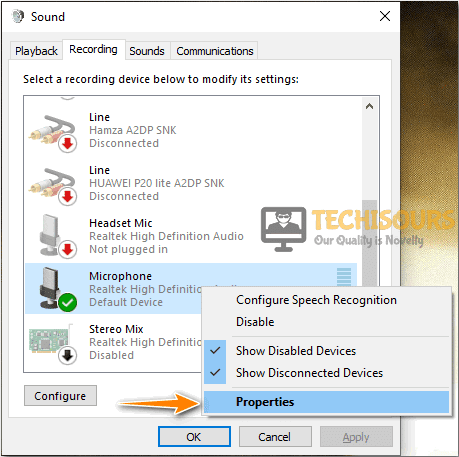
- Now proceed to the “Recording” tab, right-click on the “Microphone” and select “Properties”

Choose Microphone Properties - Click on the “Listen” tab and uncheck the “Listen to this device” option. Afterwards, choose the “Apply” button and then “OK” to save the changes.
Solution 5: Update the Sound Driver
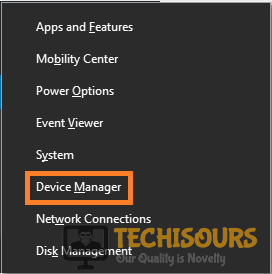
- Firstly, right-click on the “Windows” logo which is located at the bottom left of the taskbar, and select “Device Manager” from the menu.

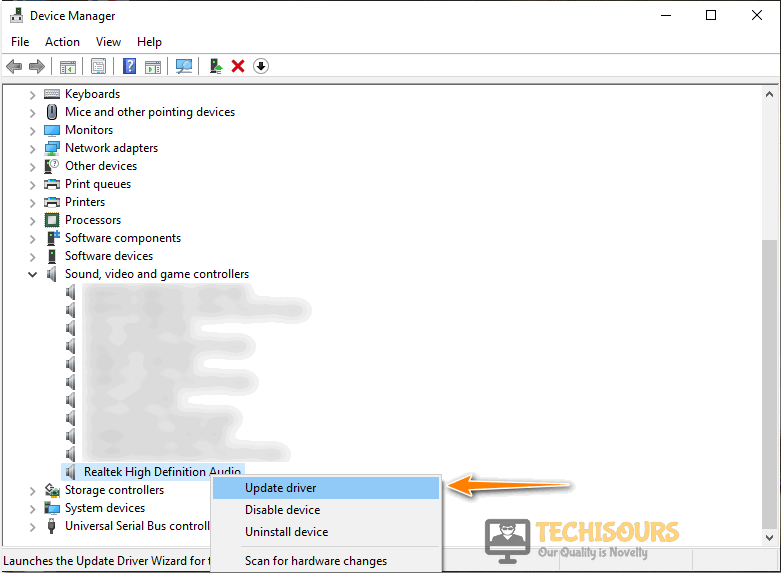
Open Device Manager - Expand the “Sound, video, and game controllers” by clicking on it, right-click on your “Sound card driver” and select the “Update Driver” option.

Update Sound Driver - Choose the “Search automatically for updated driver software” option from the options given and wait till it finishes updating the sound driver.
Solution 6: Tweak Sound Options
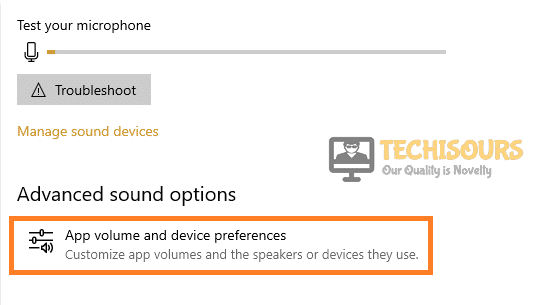
- Go to the “Start” menu, type “Sound Settings” and press “Enter”.
- After that scroll down to the bottom of the window and click the “App volume and device preferences” option located under “Advanced Sound Options”.

Choose App Volume and Device Preferences Option - A new window will open click on the “Reset” button and check if the problem is fixed or not.
Solution 7: Change Realtek Audio Advanced Settings
- Click on the “Realtek Audio Manager” from the icon tray on the bottom right corner of the taskbar.
- Now click on “Device Advanced Settings” which is present at the top right corner.
- Uncheck the “Mute the rear output device, when a front headphone plugged in” option which is under “Playback Device”.

Mute the Rear Output Device - Click on “OK” to save the changes and hopefully, the stereo mix not working with headphones issue would be fixed.

Solution 8: Allow Apps to Access Your Microphone
- Press the “Windows + I” keys simultaneously to open the “Settings”.
- Now click on “Privacy” and after that click on the “Microphone” option which is present on the left side.
- Make sure that the “Allow Apps to access your microphone” is turned “ON” and if not then toggle the switch to ON.

Clicking on the “Allow Apps to Access your Microphone” toggle

Solution 9: Reinstall the Realtek HD Audio Codec Driver
For this purpose, you have to manually install the driver. Follow the steps given below:
- Click here to open the website and check your Windows Architecture. Afterward, click on the “Download” button to download the driver, and after downloading click on the downloaded file to install the driver.
- At first, it will remove the existing driver from your computer and will ask you to click on “Next” to remove the drivers.
- Now, reboot your computer and it will automatically install the driver once your computer is restarted.
Solution 10: Plug-in Analog Speaker to Record Sound
- Get an analog speaker and plug it in the rear panel of the sound card.
- Press the “Windows + R” keys simultaneously to open the “Run” prompt, type the following command and click “OK”.
mmsys.cpl
- Now proceed to the “Recording” tab and look for your sound card.
- Right-click on it and select “Enable”. Again right-click and choose the “Set as default device” option, click on “Apply” and then “OK” to save the changes.
- Now check if the stereo mix not working discord error is resolved or not.
Solution 11: Enable Stereo Mixing (For Conexant HD Audio Device Only)
These steps are for enabling stereo mix on Conexant HD Audio Device Only. If you can’t find the “CalCCWA.inf_amd64_07118bd8a2180658” then you have to download the portable version of “PSDPad” and run “PSPAD.exe” after installing it.
- Click on the “Search Button” and select “Search/Replace in Files” and proceed to the “Search Text” and enter the following text:
HKR,%EPattributePath%EpSettingsStereoMixEnable,Enable,1.01
- In the “Phonebook field” which is selected, add the following path:
C:/Windows/System32/DriverStore/FileRepository/
- Click “OK” to save the changes and check if the error is resolved or not.
Solution 12: Try Third-Party Software
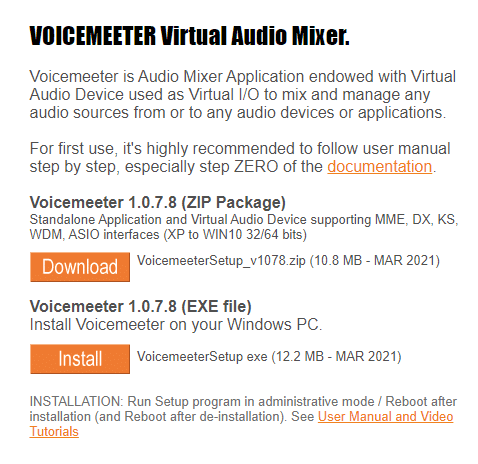
- Click here to proceed to the website to download “Voicemeeter”.
- Now click on the “Download” button and when the software has been downloaded, click on the “.exe” file and follow the on-screen instructions to install it on your system.

Download Voiceemeter - Follow onscreen instructions to install the software and launch “Voicemeeter” instead of “Microsoft POS Stereo Mixer”.
Hopefully, the stereo mix not working with USB headset issue might have been resolved and if you need further assistance, Contact Us.