What is the SS3SVC64.exe prompt on startup and How to Stop it?
There has been some recent controversy for some Windows users that have seen the ss3svc64.exe process in their task manager windows that is sometimes consuming high CPU usage or sometimes it might be causing high memory or disk usage. Another annoying thing that this process does is that it creates a couple of popups when the user logs in and they have to be allowed to get rid of them. Basically, we will be informing you of the origins of this process and then we will take you through a comprehensive guide to getting rid of ss3svc64.exe on startup issue completely.

What is the ss3svc64.exe Process?
If you own an Asus computer or have installed a piece of Asus hardware on your computer, you might be familiar with the Sonic Suite 3 software that sometimes comes bundled with Asus products. This process belongs to the Sonic Suite 3 software and is basically responsible for running the software on your computer.
This tool allows the user to modify the computer’s audio effects using a GUI interface. Basically, it allows the user to be able to enhance their audio listening experience through some different options. This software and process is in no way critical to the operating system and can easily be replaced or removed without any side effects to the computer itself.
Before we start:
- Press “Ctrl + Shift + Esc” keys simultaneously on your keyboard to open the task manager and navigate to the “Processes” tab.
- Here, select the “SS3svc64.exe” file and click on the “End Task” button to terminate the process.

Ending ss3svc64.exe on startup

Prevent ss3svc32.exe from Asking Permission on Startup:
Solution 1: Run ss3svc32.exe as an administrator
- Press the “Win + E” keys simultaneously to open Windows Explorer and navigate to the following location.
C:\Program Files\ASUSTeKcomputer.Inc\Sonic Suite 3\Foundation\
- In this folder, right-click on the “SS3svc64.exe” file and select “Properties”.
- Navigate to the “Compatability” tab and check the box parallel to “Run this program as an administrator”.

Running ss3svc64.exe as an administrator - Apply the settings and most probably the ss3svc64.exe on startup issue would be resolved.

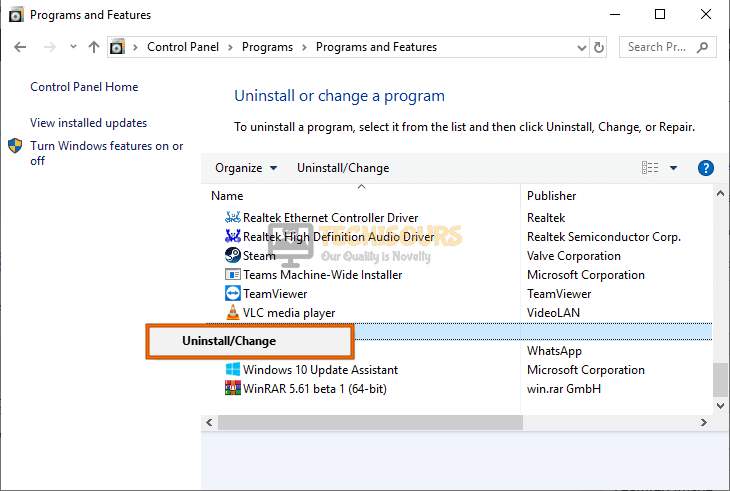
Solution 2: Uninstall Sonic Suite 3
- Press “Windows key + R” keys simultaneously on the keyboard to open the run box and search for the “appwiz.cpl” command.

Typing “appwiz.cpl” - Now locate “Sonic Suite 3” from the list of Softwares installed on your computer, right-click on it and select “Uninstall”.

Uninstall Sonic Suite 3 - Now press “Win + E” keys simultaneously to open Windows Explorer and navigate to the following location to delete anything that is related to “ss3svc64.exe”.
C:\Program Files\ASUSTeKcomputer.Inc\Sonic Suite 3
- After uninstalling this application most probably ss3svc64.exe will never ask for any permission during the startup.

Solution 3: Perform a clean boot
- Press “Windows + R” keys simultaneously to launch the Run box and type in “msconfig” command.

Typing in “Msconfig” - Click on “Services” and check the “Hide all Microsoft Services” option.

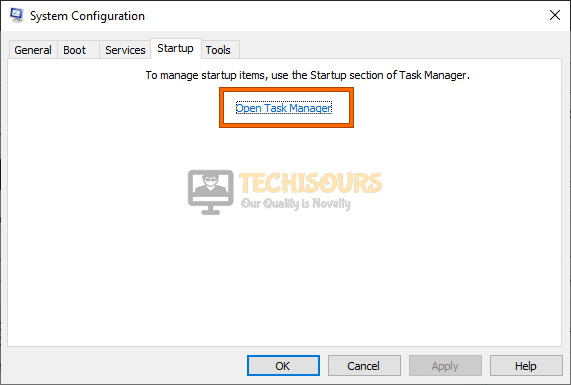
Hide all Microsoft services - Select the “Disable all” button and then click on the “Startup Tab”.
- From there select the “Open Task Manager” button to launch the task manager.
Open Task Manager - Select each service one by one, especially any service related to Sonic Suite 3, and click on “Disable” to prevent them from launching on startup.
Disable startup services - Restart your computer and all the unnecessary services and applications will now be stopped and hopefully, you won’t encounter the ss3svc64.exe on startup windows 10 issue again.


Solution 4: Tweak Task Scheduler Settings
- Press “Windows + R” keys simultaneously to launch the Run box and type in “taskschd.msc” command.
- From the left pane, select “Task Scheduler Library” and choose “New Folder” from the right side of the window.

Launch Task Scheduler Library - Name the folder as “ss3svc64.exe”, select it from the left pane and then choose “Create Task”.
Create Task - Under the “General” tab, write “ss3svc64.exe” in the text field associated with “Name” and check the box parallel to “Run with highest privileges”.

Run with highest privileges - Now navigate to the “Trigger” tab and click on the “New” button.
- Select the “At Startup” option from the drop-down list parallel to “Begin the task”, check the “Enable” box located at the bottom of the screen, and click on the “OK” button.

Begin the task on Startup - Now navigate to the “Trigger” tab again and click on the “New” button.
- Select “At Logon” from the drop-down list parallel to “Begin the task”, check the “Enable” box located at the bottom of the screen, and click on the “OK” button.
Begin the task - Now proceed to the “Actions” tab and click on the “New” button.
Click on “New” - Select “Start a program” from the drop-down list parallel to “Action”, click on the “Browse” button and select the “ss3svc64.exe” file from your directory.
- Now type the following location in the text field associated with “Add Arguments (Optional)” and click on the “OK” button.

Start a program - After carrying the above task out, hopefully, you will not encounter ss3svc64.exe on startup problem again on the startup.


Solution 5: Rename ss3svc32.exe file
If none of the solutions explained above have helped you to stop ss3svc64.exe from asking permission at the startup, navigate to the location of the self startup file and change the name of the file from “ss3svc64.exe” to “ss3svc64Old.exe” and check whether if you encounter the same issue again when you start your computer.
Hopefully, the problem might have gone by now but if you need further assistance, contact here.