Easily Fix 0x80042405 – 0xa001a Error with Windows Media Creation Tool
If you have been getting the “0x80042405 – 0xa001a” Error while trying to use the Windows Media Creation Tool, you are not alone. We have been getting this complaint from a lot of our users and have managed to fix it for most of our users. Basically, the error is triggered often due to the wrong type of format used as the disk storage format.

How to fix error 0x80042405 – 0xa001a on your PC:
Fix 1: Using Media Creation Tool Directly Through USB
Downloading the Media Creation Tool directly into your USB seems to work out for many users. Run it directly from your USB driver and proceed with the booting process. If that did not work out for you then follow the steps below:
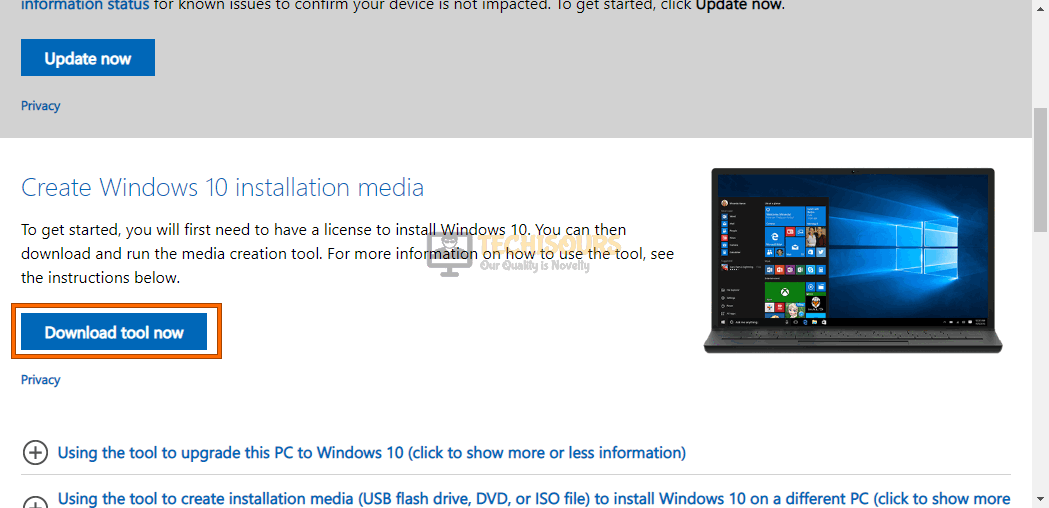
- First, download the “Media Creation Tool” normally into your Hard Drive.

Download Media creation tool - Then launch it and download the windows file into your “Windows Drive”.
- Now, mount the “ISO file” that has been downloaded and copy all of its contents/data to your USB drive except for the file named “Autorun.inf”.
- Then, right-click on “Autorun.inf” and select the “Rename” option.
- Change its name to “Autorun.txt” and press the “Enter” key.
- Now copy this file over to your USB and reverse its name back to “Autorun.inf”.
- Finally, check to see if your issue is resolved now.
Fix 2: Format USB As NTFS/FAT32
- Press the “Window + E” keys together, from the pop-up File Explorer window click on “This PC” and then right-click o your “USB Drive”.
- Select “Format” and change the “File System” to “NTFS” (If it is already at NTFS then change it to FAT32).
- Tick “Quick Format” and then select “Start”.
- Once the format is complete, check if the problem is solved now.
Fix 3: Changing USB Drive to MBR Via Disk Management
Setting your USB drive to “MBR (Master Boot Record)” from “GPT (GUID Partition Table)” can also help remove your error and it is rather essential to do so. Follow the steps below in order to implement this solution:
- Press “Window + R” keys, type in “diskpart” in the Run prompt, and press “Enter” on your keyboard.

Searching for “diskpart” - The Command window will open now, type in the following commands in order and press “Enter” after each:

list disk

select disk x (The x here is the disk number which you want to make bootable)

clean

convert mbr
- Now, try using Media Creation Tool again and see if the problem persists now.
Fix 4: Using Windows 7 Tool
Follow the steps below to make a bootable USB Drive using the tool for Windows 7:
- Download the “ISO file” of the windows if you do not already have it.
- Next, download the tool from here and install it by following the on-screen instructions.
- After installation, right-click on it and select “Run as administrator”.
- Choose the ISO file that you had downloaded earlier and then follow the on-screen instructions to complete the procedure.
Fix 5: Using A Third-party App Instead
Rufus is a very light utility that lets you easily create a bootable USB drive if you already have the iso file downloaded. You can download the iso file directly from Microsoft’s official website and then you will need to download Rufus from here. Once downloaded, run it as administrator and choose your USB drive from the “Device” section, click the small icon beside “ISO Image”, select your iso file and start the process. Check to see if this fixes the 0x80042405 – 0xa001a issue.
Fix 6: Modifying Power Options
- Press the “Window + S” keys simultaneously, type in “Choose a power plan” in the search bar, and press “Enter” on your keyboard.

Click on Choose a Power Plan - In the Power Options window select “Change when the computer sleeps” from the options on the left.
- In the following window click “Change advanced power settings” and expand “USB settings” then select “USB selective suspend settings” and set it to “Disabled”.

Tweak Power Settings - Click “Apply”, and see if the 0x80042405 – 0xa001a error is resolved now.


Fix 7: Modifying Services
There are settings which when modified will probably get you through the error successfully. Follow the steps below in order to implement this solution:
- Press “Window + R” together, type in “services.msc” in the Run dialogue box, and press “Enter” on your keyboard.

Typing in “services.msc” - Now look for the following services and make sure that all of them are up and running, if not you will need to right-click it on them and select “Start”:

Windows Update

Background Intelligent Transfer Service

Server

Workstation

TCP/IP NetBIOS Helper

IKE and AuthIP IPsec Keying Modules
- Next right-click on “Windows Update” and click “Properties”.
- Change the “Startup type” to “Automatic” and hit the “Apply” button.
- Check to see if this fixes the 0x80042405 – 0xa001a issue.
Fix 8: Disabling Anti-virus and Antimalware Apps
Sometimes the anti-virus and antimalware programs might interfere with the functionality of the system and might give out false alarms of files being affected which they are not and are totally safe. So, try disabling all your security apps and then try the procedure again to see if the error exists or not. While doing so, also close all other programs running in the background that are not necessary as they might be consuming your PC’s resources and might cause issues as well.
Fix 9: Running CHKDSK to Check for Hard Drive Errors
Follow the steps below to check your hard drive for issues that could be the possible cause of this error:
- Press “Window + R”, type in “cmd” in the dialogue box, and press “Ctrl + Shift + Enter” keys together on your keyboard.

Typing in cmd - Type in the following command and press Enter afterwards.

CHKDSK [volume [[path] filename]] [/F] [/V] [/R] [/X] [/C] [: size]]
- You can also try right-clicking on the Windows drive and USB drive and select “Properties > Check” afterwards.
Fix 10: Using An ISO file (An alternative to Fix 1)
Firstly, download the media creation tool and launch it, now select the option for creating an ISO file instead, and then use the robocopy command to copy all the contents of the ISO file into your USB drive. But before copying all the contents, change the name of the file “autorun.inf” to “autorun.txt” and proceed with the copying procedure. Once copied, change the name back to its original and you should be good to go now.
Fix 11: Running Volume Wizard
- Press “Window + S”, type in “Computer Management” in the search bar, and press “Enter” on your keyboard.

Selecting “Computer Management” option - From the options on the left, click to select “Disk Management”.
- Then right-click on your “USB Drive” and select “Delete Volume”.
- The USB drive should now show up as “Unallocated”, right-click it again and click “New Simple Volume”.
- Use the “Default Settings” and follow through with the on-screen instructions to complete the volume creation procedure. The 0x80042405 – 0xa001a issue must now be resolved positively.

Fix 12: Changing the USB’s Display Name
Although this might sound unrelated, it did work out for quite a bunch of users as well. Changing the USB’s display name to anything instead of leaving it blank should work out as well.
Fix 13: Updating Your Windows
If you are still facing the issue then you can simply upgrade your windows through automatic updates. This has also helped people solve the error and might work in your case as well. Simply search for the “Check for Updates” option in the Windows search bar and the windows will let you know if you are eligible for an upgrade.
Fix 14: Downloading the Correct Drivers
As pointed out by a user, this issue can most probably be occurring due to the incorrect or wrong hardware drivers that you have installed. To resolve this problem, you will need to download the correct drivers from the official manufacturer’s website. The drivers that you should be looking at are “Chipset” drivers and any other drivers related to USB connections. Once installed, restart your PC and the 0x80042405 – 0xa001a issue must not exist now.
Fix 15: Using GPT Partition
You can also try formatting your USB drive using a third-party app named “EaseUS” and selecting GPT (Run EaseUS as administrator to ensure proper functionality.
Note: You can also try disabling the secure boot in your BIOS settings.
Follow the aforementioned fixes in order to get through the error successfully but in case you have any further queries or questions feel free to Contact Us here.