The computer has rebooted from a bugcheck [Fixed Completely]
A very common error that states “Event 1001: The computer has rebooted from a BugCheck. The BugCheck was: 0x00000050” may occur on your Windows 10 computer. This error will cause your system to show a blue screen and will prevent to perform any task on your PC. If you encounter this error message, don’t panic because it is not a very complex problem and can be fixed easily in little time.

What Causes the Computer to Reboot From a Bugcheck on Windows 10?
Many users around the world come across this error and there are several reasons behind this error. Some of them are listed below:
- Outdated Drivers may cause this problem.
- This error may be related to memory corruption.
What to do if you get the “The Computer has Rebooted from a BugCheck. the BugCheck was: 0x00000050” Error on Windows 10?
Solution 1: Update All the drivers
Sometimes outdated device drivers may cause this issue. Update the device drivers by following the steps below and check if the problem is resolved or not.
- Click here to download Drive Easy.
- Install and Run Drive Easy.
- Click the Scan Now button.
- Now a list will appear that will be containing all the outdated drivers on your computer. You can update them manually by clicking the update button in front of every driver or you can update them collectively by licking the Update all button at the bottom.

Update Drivers - Restart your computer.

Solution 2: Run a Memory Check
If you are still getting this error, try to run a memory diagnostic. Follow the steps below to carry this task out.
- Click the search button in the taskbar. Type Windows Memory Diagnostic and open it.

Windows Memory Diagnostics - Now click Restart now and check for problems.

Check For Problems


Solution 3: Perform a clean boot
If the error is still occurring, perform a clean boot on your PC. Follow the steps below to do this:
- Click the search button in the taskbar. Type msconfig and open it.

System Configuration - Click on the Services tab.
- Check the box parallel to Hide all Microsoft Servies.
- Now click Disable button.

Disable Services


Solution 4: Restore your computer to early stages
If you still can’t get rid of this error, try to restore your computer to the early stages. T do this, follow the steps given below:
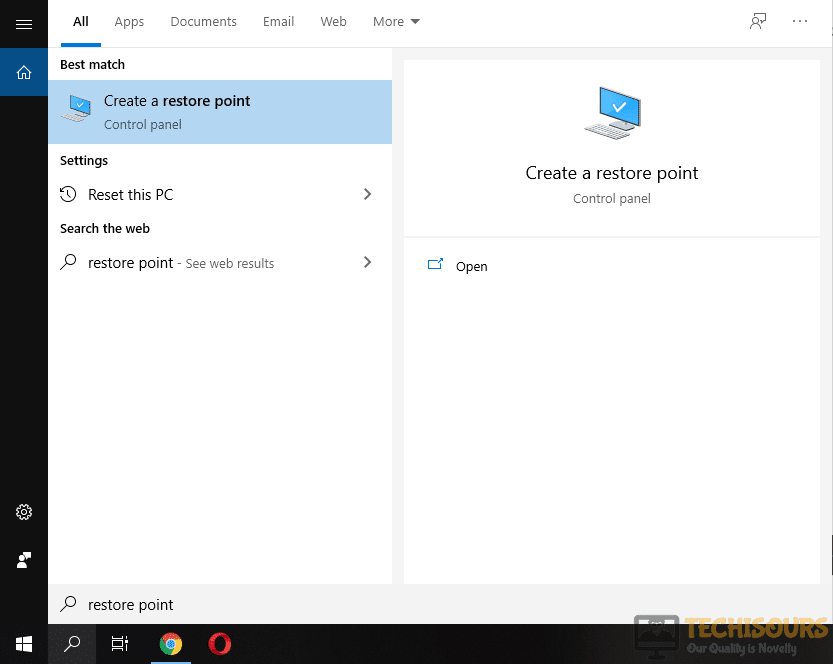
- Click the search button in the taskbar. Type restore point and click Create a restore point to open it.

Restore Point - Click the System Restore button.

System Restore - A window will pop up. Click Next.
- Select a restore point that was created before you came across this error.

Select Restore point - Click next.
- Click Finish.


Solution 5: Varify your Drivers
In most of the cases, verifying the drivers is proven to be a conform solution to this problem. Follow the steps given below to resolve this issue.
- Click the search button in the taskbar. Type Verifier and open it.

Verifier - If your computer asks for any permission, click yes.
- Check the box parallel to Create custom settings.

Create Custom Settings - Click Next.
- Make sure that you check the box parallel to every driver except the two drivers named as DDI Compliance Checking and Randomized low resources simulation.

Select Drivers - Now select Select driver names from a list and click Next.
- Now select the drivers that are not provided by Microsoft.
- Click Finish.
- In the taskbar, click the search button and type Command Prompt.
- Right-click the icon and click Run as Administrator.

Command Prompt - Type the following command and hit enter key to execute it. After that reboot your computer.


verifier /querysettings

After your system is rebooted, let your system crash a couple of times until it shows that what drivers are causing the trouble. Now when you have known all the faulty drivers, uninstall them. Now open the command prompt in administrator mode again and type the following command.
verifier /reset
If you want further assistance, contact here.