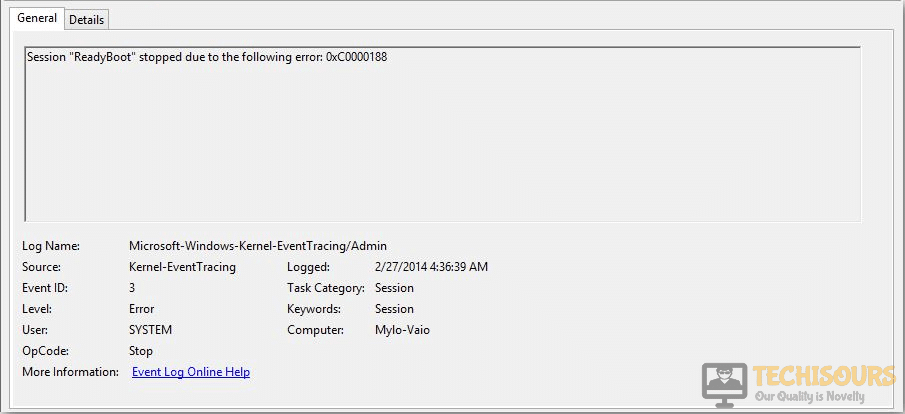
Fixing the “Session \”readyboot\” Stopped Due to the Following Error: 0xc0000188″ Issue
A very common error “session \”readyboot\” stopped due to the following error: 0xc0000188″ arises when you try to boot your PC. The ReadyBoot service whose responsibility is to optimize the boot time to its minimum uses the ReadyBoot mechanism. It is a mechanism that speeds up the boot time of your machine. In any case, it can not have an effect on the operations of your computer because it is just related to the speed with which your systems boots. This problem can be resolved very easily just by following some simple steps explained in this article.

What causes the session ReadyBoot to stop due to 0x0000188?
The “Session ReadyBoot stopped due to the following error: 0xc0000188″ issue has been reported by so many users around the world and there seems to be one major reason that causes this problem. When the first-ever user tries to log in to the computer during the Out Of Box Experience while reaching the file size for the ReadyBoot session, this error arises. In this process, if the ReadyBoot is allocated less memory then it needs to perform its task properly. Although the performance of the computer will not be affected due to this error.
What to do if you encounter the “session \”readyboot\” stopped due to the following error: 0xc0000188″ Error on Windows 7, 8, 8.1 or 10?
Solution: Increase the ReadyBoot.etl File Size
This is a simple error that does not affect the operation of your PC. The default size of the ReadyBoot.etl file is 20MB but sometimes, it needs more space to complete. In most of the cases, the ReadyBoot.etl file needs 128MB. The best solution to resolve this issue is to allocate it to some space that is more than 20MB. So, it is recommended to increase this space to 128MB. To carry this task out, follow the steps below and check if you have resolved this issue.
- Click the search button in Taskbar. Type Performance Monitor and open it.
Performance Monitor - On the left pane, click Data Collector Set.
Data Collector Set - Click on Startup Event Traces.
- On the right pane, locate and click ReadyBoot.
ReadyBoot - Set the file size to 128MB.
Set File Size - Click Apply and then click OK.
- Now to verify that space is allocated successfully, navigate to “C:\Windows\Prefetch\ReadyBoot” and check if space is the same as you defined before.
If you need further assistance, click here. You can also contact the Microsoft Support here.


