Fixed: Feature Update to Windows 10 Version 1709 Failed to Install
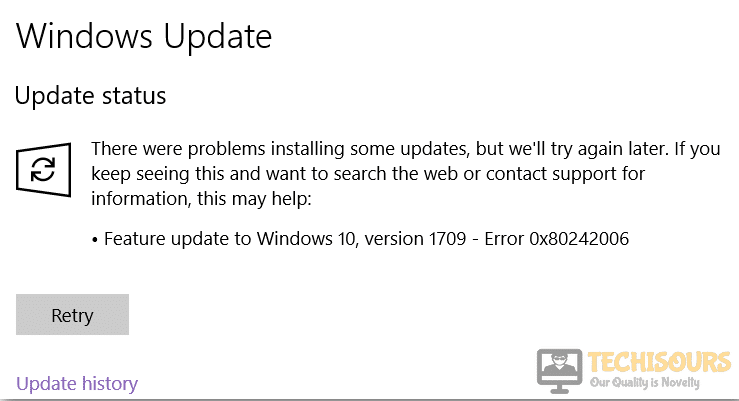
A very common error message that most of the Windows users encounter is “Feature Update to Windows 10 Version 1709 Failed to Install“. Windows keeps on launching new updates to fix the issues or improve the features that were present in the older version. Sometimes when you try to update them, they fail to install. This is a very common issue and can be resolved very easily. This also triggers the “Error 0x80080008” or “Error 0x80242006” errors and these can prevent you from being able to update your game.
What Prevents Feature Update to Windows 10 version 1709 to install?
Many Windows users come across this problem. It is reported that their might t be many reasons behind this issue. Some of these reasons are as follows.
- Third-Party Antivirus software may be causing the Error 0x80080008.
- Your Device Drivers might be the reason behind this problem.
- The Error 0x80242006 issue might happen due to the outdated version of wifi drivers.
Pre Tips
If you come across the error 0x80070005, then before moving to any major solution, try to run a basic windows update troubleshooter. To do this, follow the steps below.
- Click the search button in the taskbar. Tye and pen Troubleshoot Settings.
- On the left pane, click Windows Update.
- Click Run the Troubleshooter.
- Now click Try Troubleshooting as an administrator.
- Restart your computer and check if the problem is resolved.
What to do if you get the “Feature Update to Windows 10 Version 1709 Failed to Install” Error on Windows 10?
Solution 1: Disable Your Antivirus Software
If “feature update to windows 10 version 1709 failed to install” is still appearing, the reason might be that antivirus is blocking some features of the system. Third-party antiviruses are good to some extent but sometimes they create a problem by blocking some features of the system. So to resolve this error, turn-off your third party antiviruses and reboot the system to check if this problem is resolved.
Solution 2: Reset Your Windows Update Components
If you are still getting this error message then try t rest the Windows Update components by following the steps given below.
- In the taskbar, click the search button and type Command Prompt.
- Right-click the icon and click Run as Administrator.

Command Prompt - Type and execute the following command in the command prompt one by one.

net stop bits
net stop wuauserv
net stop appidsvc
net stop cryptsvc
ren %systemroot%\softwaredistribution softwaredistribution.old
ren %systemroot%\system32\catroot2 catroot2.old
net start bits
net start wuauserv
net start appidsvc
net start cryptsvc
Now run the Windows update and check if your problem is resolved.
Solution 3: Update Device Drivers
Sometimes outdated device drivers may cause 1709 Failed to Install issue. Update the device drivers by following the steps below and check if the problem is resolved or not.
- Click here to download Drive Easy.
- Install and Run Drive Easy.
- Click the Scan Now button.

Scan now - Now a list will appear that will be containing all the outdated drivers on your computer. You can update them manually by clicking the update button in front of every driver or you can update them collectively by licking the Update all button at the bottom.

Update Drivers - Restart your computer.


Solution 4: Run DISM Utility
DISM is a command used to check for corrupt files in the system. You can run this command in the command prompt to resolve this error.
- In the taskbar, click the search button and type Command Prompt.
- Right-click the icon and click Run as Administrator.
Command Prompt - Type the following commands one by one in the command prompt.
dism /Online /Cleanup-Image /ScanHealth
dism /Online /Cleanup-Image /CheckHealth
dism /Online /Cleanup-Image /RestoreHealth
Restart your computer and check if the error is resolved.
Solution 5: Delete the Windows Update Folder
If you face this problem while updating the windows, try to delete the windows update folder. To do this, follow the steps below.
- Click the search button in the Taskbar. Type and click Services to open it.
- Locate Windows update and Right-click it to press the stop button.

Stop Windows Update - Close this window.
- Click on This PC icon on your desktop and navigate to C:\Windows.
- Locate the SoftwareDistribution folder and delete it.
- Restart your PC and check for updates in the settings.

Solution 6: Repair Systems Files With SFC
Sometimes, corrupt or missing system files can cause this problem. You can scan and fix those files and try to resolve this problem. Follow the steps below to do this.
- In the taskbar, click the search button and type Command Prompt.
- Right-click the icon and click Run as Administrator.
Command Prompt - Type the following command and hit enter
sfc /scannow

Solution 7: Updating Time, Region and Language Settings
Sometimes, updating the Time, Region and Language settings can resolve this issue. To carry out this task, follow the steps below.
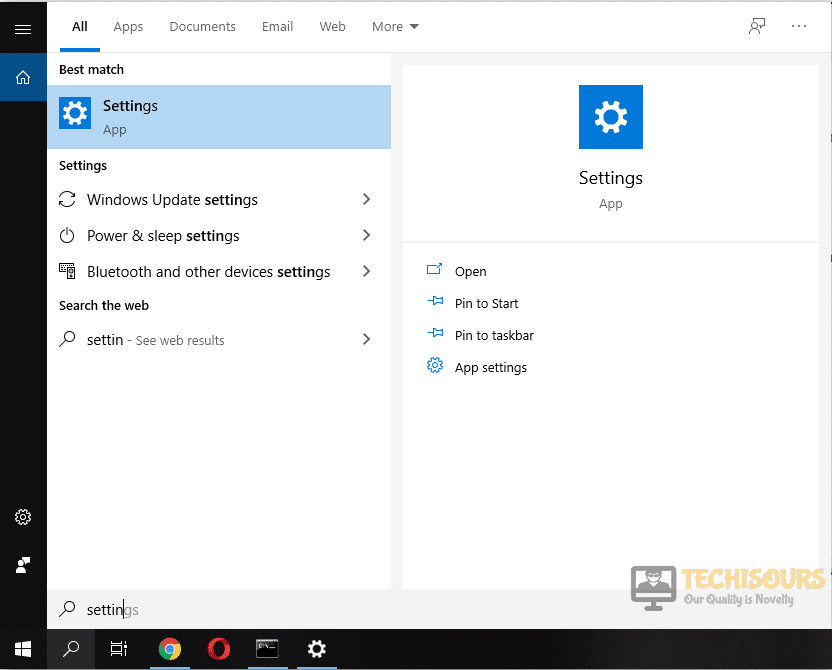
- In the taskbar, click the search button and type Settings. Click to open it.

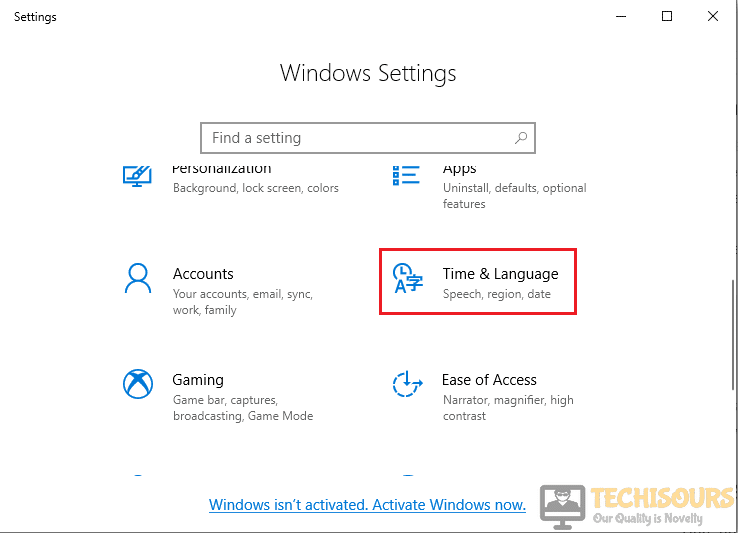
Settings - Click on Time and Language option.

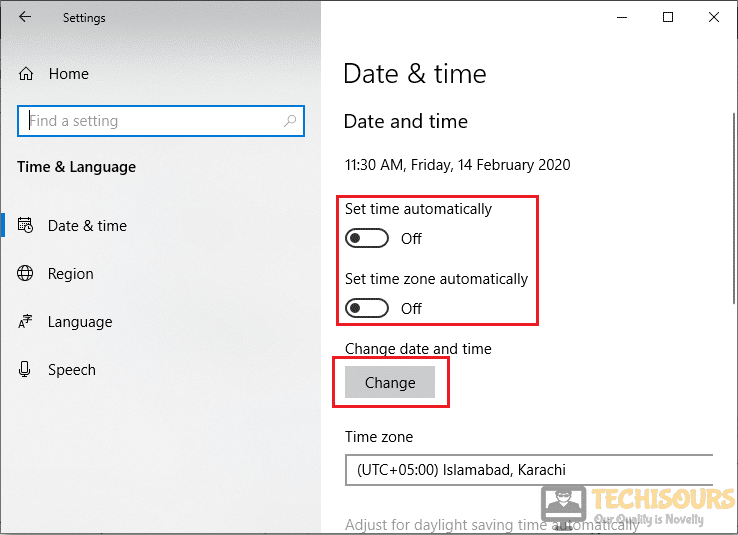
Time and Language - Uncheck the option that automatically sets your day and time and click on the change button to set them manually.

Updating Manually - Once you have successfully changed them, restart your computer.
Solution 8: Uninstalling and reinstalling the WiFi drivers
If you are still facing this error, try to uninstall all the WiFi drivers on your system and reinstall them. Follow the steps below to carry out this task.
- Click the search button in the taskbar. Type Device Manager and open it.
Device Manager - Fro the list appeared on the screen, locate and click Network Adapter.
- Locate your WiFi driver and uninstall it by selecting uninstall after Right Clicking on it.
- Reinstall the latest version of the driver and restart your computer.

Solution 9: Disable Internet Information Services
Disabling Internet Information Services might resolve this issue. To carry out this task, follow the steps below.
- In the taskbar, click the search button and type Windows features. Click to open it.

Windows Features - A list of features will appear in a window. Make sure that you uncheck the box parallel to Internet Information Services.

Disable Internet Information Services


If you want further assistance, contact here.