Microsoft Teams Screen Sharing not Working? Fix it Here
Microsoft Teams has taken over the business and the education world in these trying times and a lot of the world has relied on it for remote conferences and classes. However, some users have been receiving certain issues with the Screen Share feature of Microsoft Teams. Therefore, if you are getting the “Microsoft Teams Screen Sharing not Working” issue, this article is for you because it contains all the solutions that you can utilize to fix the issue.

Before you Start:
- Most commonly, the Microsoft Teams Screen Sharing not working issue is triggered due to the internet connection being slow and not meeting the required bandwidth. Therefore, test your internet speed and check to see if the internet speed matches the requirement.
- Make sure that there aren’t any ongoing downloads or apps that are using bandwidth.
- If you face this issue while using the desktop client, try switching to the web version of Microsoft Teams.
- If you are using Microsoft Teams on your browser, then you should switch to Microsoft Edge or Google Chrome browser to fix this issue.
- Another solution to this problem is to simply sign out from your Microsoft Teams account and sign in again.
- Try to see if there are any updates available in your GPU support application such as the Nvidia Geforce Experience or the AMD Software.
- If you are only sharing certain app screens, try sharing the whole screen as the limited sharing can sometimes cause issues.
- Try to check if there are any updates available for your OS.
- This issue can also be caused by a low-spec PC, therefore, check the minimum requirements of Microsoft Teams on their website.
Fixing the Microsoft Teams Screen Sharing not Working Issue:
Fix 1: Terminate Background Apps
Sometimes, if there are a lot of background applications or processes running, we recommend that you try to trim them down and end the background tasks. For that:
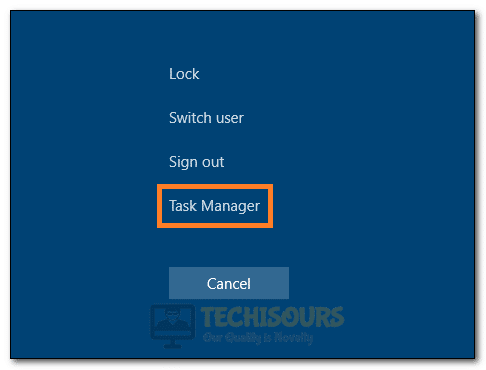
- Press the “CTRL + ALT + DEL” buttons on your keyboard and select the “Task Manager” option to launch into the Task Manager application.

Launching Task Manager - From here, look for applications that are using too much of your CPU, RAM or Network and select the “End Task” button.
- Check to see if the Microsoft Teams Screen Sharing not working issue has been resolved.
Fix 2: Grant Permission for Screen Sharing
It is possible that you are unable to share your Screen on Microsoft Teams because you don’t have permission to do so from the admin. For that, you can ask the admin to grant you permission to share your screen that:
- During a call, three dots to launch into the menu and navigate to the “Metting Options” button.
- From here, select the “Everyone” option under the “Who can Bypass the Lobby” option.

Selecting “Everyone” in the “Who can Bypass the Lobby” option - After making this change, check to see if the “Microsoft Teams Screen Sharing not working” issue has been resolved.

Fix 3: Tweak Display Resolution
- On your desktop, press right-click and navigate to the “Display Settings” option, then scroll down and hit the “Display resolution” option.

Selecting “Display Settings” - Now, choose a lower resolution than what you were using before and restart your computer.
- Verify if doing so helps in fixing the Microsoft Teams Screen Share not working issue.

Fix 4: Delete MS Teams Cache
- Exit out of the Teams app and press the “Windows + R” buttons on your keyboard.
- Now, type the following address in the run box and press the “Enter” button:
%appdata%\Microsoft\Teams

Launching Microsoft Teams Cache Folder - This will access the Microsoft Teams folder containing all the cache files, therefore, press “Ctrl + A” to select all of the files and then press the “Shift + Delete” buttons to remove them from your computer.
- Now, restart your computer and launch into Teams.
- Check to see if the Screen Share option is working fine now.

For Web Version:
- Launch Google Chrome and log in to the MS Teams web.
- Now, click on the “Lock” icon present behind the address bar on the top left and click on the “Site Settings” option.

Opening “Site Settings” for the Microsoft Teams Web Version - From here, click on the “Clear Data” option on the window that opens up to remove all the data stored for the site.
- Now, check to see if the Screen Share feature is working.

Fix 5: Update Microsoft Teams
One of the causes of this error can also be an outdated version of Microsoft Teams, hence, follow the guide below to update Microsoft Teams:
- Launch into the Microsoft Teams app from your Desktop and sign in to your account.
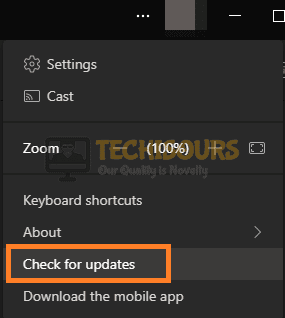
- After signing in, click on the “Three Dots” at the top right side and select the “Check for Updates” button.

Checking for Microsoft Teams Updates - Updates should now be installed automatically, confirm any prompts that pop up and then check to see if the Microsoft Teams Screen Share feature is working properly for you.
Fix 6: Reinstall MS Teams
- Press “Windows + I” to launch into the settings, from here, click on the “Apps” option and select the “Apps & Features” button from the side panel.

Accessing Apps - Now, search and click on the MS Teams icon and hit the “Uninstall” option, follow the on-screen instructions to complete the uninstall process.
- Download MS Teams from Microsoft’s official website and run the installer file, then follow the on-screen instructions to install Microsoft Teams.
- Check to see if this has fixed the Microsoft Teams Screen Sharing not working issue for you.

Fix 7: Turn OFF GPU Acceleration
This fix only works for those users using the Microsoft Teams application on Windows or macOS. This feature utilizes the GPU installed on your computer in video processing. The feature is enabled by default and can lead to issues if there are certain driver incompatibilities. Therefore, follow the instructions below to disable GPU acceleration:
NOTE: Once you disable GPU acceleration, your screen will lag, therefore enable it again after you are done using Microsoft Teams.
- Firstly, launch the Microsoft Teams application and click on the drop-down menu represented by “Three dots” located on the top right of the window and click on the “Settings” option.
- Now, click on the “General” option located under the “Settings” pane and check the “Disable GPU Acceleration” option.

Disabling GPU Acceleration in Microsoft Teams - Restart your Teams application and check to see if the Microsoft Teams Screen Sharing not working issue has finally been resolved.
- If the issue still occurs, try to enable GPU acceleration by unchecking the option and checking if that fixes the “Microsoft Teams Screen Sharing not Working” issue.

Fix 8: Create New Policy
- Initially, navigate to Microsoft Teams Admin Centre and log in using your admin account.
- Now, access the hamburger menu located on the left and click on the “Meetings” drop-down menu, then hit the “Meeting Policies” option.

Selecting the Meeting Policies Option - A new page will load, so hit the “+Add” button to add a new policy, then type in its name and description.
- After a new policy has been created, beneath the “Content Sharing” settings, select the “Entire Screen” option located in the drop-down menu for “Screen Sharing Mode”.
- Another option, “Allow a participant to give or request control” is also present, so tweak this setting according to your needs.
- Finally, hit the “Finish” button on the bottom of the page to save this policy, then restart Microsoft Teams and see if the problem persists.

Fix 9: Allow Teams through Firewall
- From the keyboard, press the “Windows + R” buttons on your keyboard and from there, type in “Firewall.cpl” in the blank space and press “Enter”.
- Select the “Allow an app through the Windows Firewall” option.

Allow an app through firewall - A new window will open, hit the “Change settings” button and look for Microsoft Teams or the “Teams.exe” in the list of applications.
- Select Microsoft Teams and hit the “Remove” option and press the “OK” button to confirm the action.
- Now, navigate to the “Allow another app” option, and then the “Add an app” window will pop up, so click on the “Browse”
- Navigate to the following directory and select the Microsoft Teams icon and press the “Open” button, then the “Add”
C:\Users\[YOURNAME]\AppData\Local\Microsoft\Teams\current) - Finally, hit the “OK” button to exit the “Allowed apps”

Fix 10: Restart Teams App
- Initially, click on the “Leave” button located on the top right of the Microsoft Teams window and exit the app.
- Locate the Microsoft Teams icon in the windows tray located on the Taskbar, then press right-click on the icon and hit the “Exit” option.
- Now, make sure to restart the application and check if doing so fixes the issue at hand.
NOTE: You should join the meeting on Microsoft Teams as a guest without utilizing an account by signing in with a different email address.
- Launch the Microsoft Teams application and navigate to the chat of the user with whom you want to share your screen.
- Now hit the “Add people” option and add the user with whom your screen sharing has previously worked.
- Finally, click on the “Screen sharing” button and check to see if the issue persists.
Steps to Undertake by Mac Users:
Fix 1: Restart the MS Teams app
Three methods can be used for restarting the Microsoft Teams application, menu bar, dock method and force quit applications window. Restart Microsoft Teams by following the steps below:
- Navigate to the menu bar located on the top, then click on the “Microsoft teams” option and select the “Quit Microsoft teams” option from the drop-down menu.
- If the Microsoft Teams application is running, a dot will be present underneath its icon, so right-click on the icon and select “Quit”.
- Initially, press the “Command+Option+Escape” buttons simultaneously to launch the “Force Quit” window that allows you to force quit out of applications.

Launching the “Force Quit” option Applications” window, then select the Microsoft Teams application and hit the “Force Quit”.

Fix 2: Allow Security & Privacy Permissions
- Firstly, click on the “Apple” icon on the top left, then navigate to the “System Preferences” application.

Clicking on the “System Preferences” option - Now, access the “Security & Privacy” preference below the “Spotlight” option.
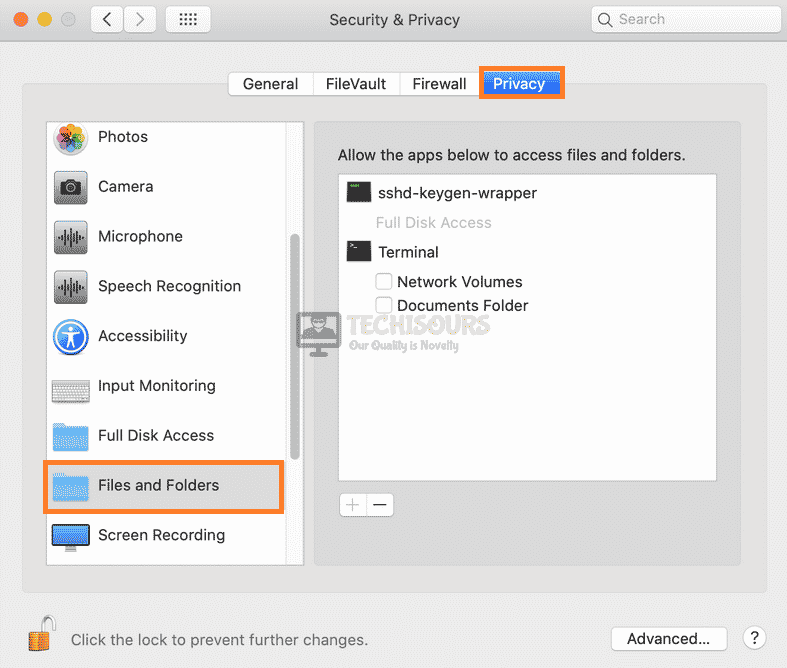
- After that, select the “Privacy” tab, and click on the “Screen Recording” option from the scroll pane on the left.
- In order to make changes in the settings, click on the padlock icon located at the left bottom to unlock it.
- When Microsoft Teams appears in the window, ensure the checkbox is checked.
- Scroll down and look for the “File and Folder Access” option, then unlock the padlock and check the Microsoft Teams checkbox.

Clicking on the “File and Folder” option - Similarly, look for the “Accessibility” option in the scroll menu and click on the padlock, then make sure the checkbox for Microsoft Teams is checked.
- Finally, press the “+” button and add Microsoft Teams in the “Applications” section for the “File and Folder Access” and “Accessibility” options, then restart Microsoft Teams and see if the issue is still there.

Fix 3: Restart NetAuthAgent
- Navigate to the “Applications” folder and access the “Utilities” folder, then launch the “Activity Monitor”.
- Under the “CPU” tab, search for “NetAuthAgent”, then select it and hit the “Quit” option in the pop-up window.
- Start the Microsoft Teams application and see if the “Microsoft Teams Screen Sharing not Working” problem persists.
Fix 4: Change Screen Resolution
- Firstly, hit the “Apple” icon on the menu bar and access the “System Preferences”.
Clicking on the “System Preferences” option - Navigate to the “Displays” option and choose the “Display” tab from the bar, then drag the slider to the left in order to lower your resolution.
- Hold the “Option” key on your keyboard while you select the “Scaled” option in order to change the secondary monitor’s resolution.
- Check if this fixes the “Microsoft Teams Screen Sharing not Working” issue has been cleared.
Fix 5: Remove Teams Cache
- Initially, close the Microsoft Teams app, then press the “Command+Shift+G” keys simultaneously to open the “Go to Folder” window and paste the following address:
~/Library/Application Support/Microsoft
- Now, permanently delete the MS Teams folder.
- Access Launchpad and navigate to the “Keychain Access” app, then select the “Login” option on the left menu and remove the Microsoft Teams listing.
- Finally, start Microsoft Teams and check for the error.
Fix 6: Delete and install Microsoft Teams
- Initially, navigate to the Finder and access the “Applications” tab and search for Microsoft Teams.
- Now, right-click on the MS Teams icon and choose the “Move to trash” option, then enter the name and password for the administrator account if it is required.

Selecting the “Move to Trash” option - Navigate to the “Trash” app and press right-click, then select the “Empty Trash”
- Finally, download the Microsoft Teams application from their website and follow the on-screen instructions in order to install it completely.

Fix 7: Add MS Teams to Firewall exceptions
- Firstly, click on the Apple menu located on the top left and hit the “System Preferences” option from the drop-down menu.
Clicking on the “System Preferences” option - After accessing the “System Preferences” option, navigate to the “Security & Privacy”.
- In the new window, access the “Firewall” tab and unlock the padlock icon on the bottom left in order to navigate to the “Preference Pane”.
- Now, if the “Firewall” button is disabled, then click on the “Turn ON Firewall” button and access the “Firewall”.
- Finally, press the “Add” button located under the list of services and add Microsoft Teams, then allow its connection through the firewall by pressing either of the up and down arrows.
Fix 8: Keep System Preferences Open
- Initially, access System Preferences and navigate to Security & Privacy preference.
- Now, click on the “Padlock” icon and if required, type in your username and password.
- This is the crucial part, do not minimize or exit System Preferences and access Microsoft Teams, then try to share your screen.
Fix 9: Turn OFF New Meeting Experience
Quite a few users of Microsoft Teams have reported that turning OFF the “New Meeting Experience” option has solved the issue at hand, therefore follow the instructions below to disable this setting:
- Launch the Microsoft Teams application and click on the profile picture, then navigate to the “Settings”.
- Now, access the “General” section of the settings and disable the “New Meeting Experience” option.
- Finally restart Microsoft Teams and see if the issue has gone away.
Steps to Undertake by Android/iOS Users:
Fix 1: Remove Background Apps
- Initially, exit the Microsoft Teams app and open the “Recent Apps” or “App Switcher”, then remove the MS Teams app or all the apps from there.
- Launch the Microsoft Teams app and join the video call again and see if the “Microsoft Teams Screen Sharing not Working” issue has been fixed.
Fix 2: Update MS Teams
Apps are downloaded from app stores on both of the operating systems, therefore the procedure would be similar. Android users download their apps from Google Play Store and IOS users utilize the App store. Follow the steps below to update your Microsoft Teams application on your device:
- Firstly, access the respective app store on your device and type “Microsoft Teams” in the search bar, then select the first search result.
- If an update is available for this app, then an “Update” button will be present, hence tap that button.
- After the update is finished, start the MS Teams app again and check to see if the “Microsoft Teams Screen Sharing not Working” issue still exists.
Fix 3: Delete Microsoft Teams Cache
- Firstly, access the “Settings” app and navigate to the “Apps & Notification”.
- Now, tap on the search icon on the top and type “Teams”, then select the MS Teams app from the search results.
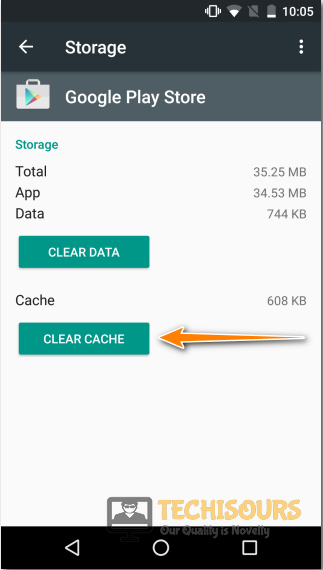
- After accessing the MS Teams app, tap on the “Storage & Cache”
- Finally, tap on the “Clear Cache” option, then the “Clear Storage” option, this will erase all the related app data.

Clear application cache and data NOTE: The only method to remove an app’s cache on the IOS platform is to reinstall that app.
Fix 4: Reinstall Microsoft Teams Application
- Launch the respective app store on your device and type in “Microsoft Teams”, then tap on the first search result and hit the “Uninstall”
- After the installation process is complete, hit the “Install” button again in to reinstall the app.
- Check to see if the “Microsoft Teams Screen Sharing not Working” issue is fixed.
If the issue still occurs, contact us for further troubleshooting.