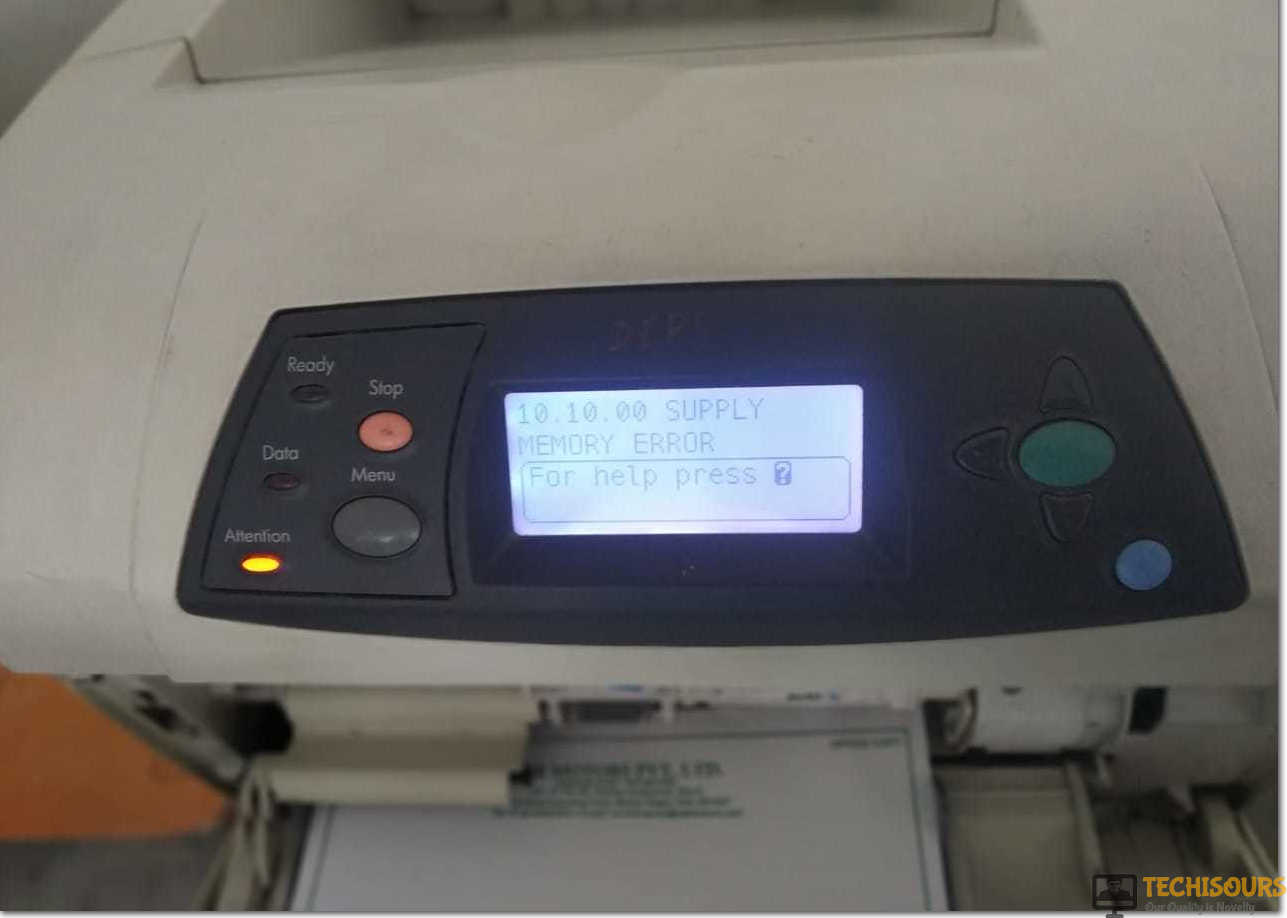
Printer Supply Memory Error 10.00.01 [Fixed Completely]
With the passage of time, the quality and functionality of the printers have improved a lot because the latest models keep intervening in the market day by day. The latest printer models have replaced the orthodox method of printing but lately, the printer users have reported a 10.00.01 supply memory error on the display screen of their printers that prevents them from printing the desired document. As it turns out, there are multiple potential culprits that might end up causing this error hence we have provided some reliable fixes to eliminate this error.

What Causes your Printer to Display Supply Memory Error?
There can be several reasons that can trigger supply memory error and among them, the most common ones are indexed below:
- The metal chips on the toner cartridge are not firmly connected with the inside circuitry of the printer hence the loose connections of the toner cartridge can trigger the supply memory error.
- The microchip data might be outdated therefore the error message appears on the screen.
- The packing material might be stuck inside the printer.
Pre-Tips:
If you observe the supply memory error on your printer screen, before you proceed to the major solutions, perform the basic troubleshooting step listed below:
- Turn off the printer and pull the plug of your printer out from the main socket.
- Wait for a couple of minutes and afterward Restart your printer by plugging the switch back into the main socket.
This procedure will reset the printer and error might be eliminated but if the error still persists follow the guide below.
How to fix supply memory error on your printer?
Solution 1: Monitor the inside circuitry
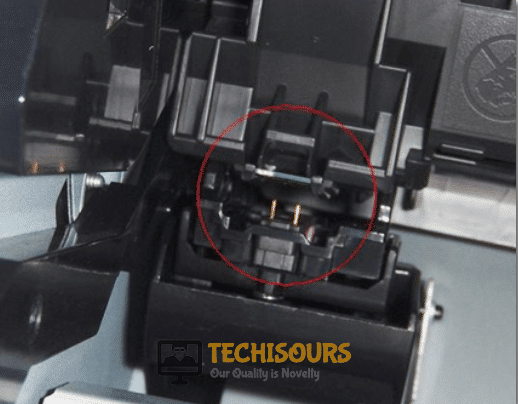
If you possess the HP laser printer then keep one thing in mind that it has a microchip inside that makes the cartridge connected with the printer. If the chip of the cartridge and the pins present inside the printer have a loose connection then the circuit becomes incomplete and this error is displayed on the screen. In order to make sure that the connection is secure inside, follow the steps stated below:
- Power off the printer and pull the plug of your printer out from the main socket.
- Open up the cartridge access door and take the cartridge out of it.
- Locate the microchips present on the cartridge toner and check if they are clean or not.
- Remove the excessive carbon accumulated on chips with the help of an eraser and make sure they are clean.
Microchip inside printer - Now locate the metal pins present inside the printer, inspect them thoroughly clean them with an eraser too.
Clean metal pins - Now put the cartridge back into the printer and remember one thing that the pins and the microchip should have a firm connection because if the connection is loose then the cartridge won’t be detected by the printer.
- Close the cartridge access door and restart your printer by plugging the switchback to the main socket.
- Turn the printer ON and observe that the error still persists or not.
Solution 2: Replace printer Cartridges
Sometimes the cartridge might be defective or empty and there is a need to replace it with a new one hence to ensure the best print quality always use the genuine HP print cartridges for the best results. Hence for replacing the cartridges follow the steps illustrated below:
- Power off the printer and pull the plug of your printer out from the main socket.
- Open the top cover of the printer and wait until the carriage moves to the right side of the printer and is idle and quiet.
Open Top Cover - Press down on the old ink cartridge, and then slide it out of the carriage. (Note: To replace the tri-color ink cartridge, remove the ink cartridge from the left slot, and to replace the black ink cartridge, remove the ink cartridge from the right slot, if you have an HP printer).
Take Cartridge Out - Remove the new ink cartridge from its packaging and pull the pink tab to remove the protective tape from the ink cartridge. CAUTION: Do not touch the ink nozzles or copper contacts on the ink cartridge. Touching these parts will result in clogs, ink failure, and bad electrical connections. Do not remove the copper strips because they are the required electrical contacts.
-
Hold the cartridge so that the copper strips are on the bottom and facing towards the printer and slide the ink cartridge at a slight upward into the carriage until the ink cartridge fits in properly.
- Close the top cover and restart your printer to check whether the error still displays on the screen and if it still appears proceed further.
Solution 3: Remove packing material
The packing material remains inside the printer when it is powered on for the first time hence you need to remove the protective packing material from these supplies before using the printer for the first time. Due to this material, the internal electrical connections are affected too, therefore, open the top cover and remove the packing material from inside to get rid of this error.
Solution 4: Inspect the orange color notch
If you are still unable to resolve the issue then take out your toner cartridge. If you find an orange color notch on the left side, just remove it. Re-insert the cartridge and restart the printer and this should resolve your issue. Furthermore, the cartridge’s notch might be broken off on the left side, which goes in a guided slot and helps to lift the chip reader to the chip on the cartridge. If the chip reader stays down, and most probably no cartridge can be read hence the toners have become unseated and aren’t touching the contacts correctly so it results in the supply memory error on the screen.
Solution 5: Update the Software.
The outdated software can trigger a lot of errors in the printer including the supply memory error. The printer manufacturers mostly release the updates regularly and you should configure your printer to download them on time but in case if you’ve missed the latest updates then follow the steps stated below to update your printing software manually.
- Connect your printer to the internet and make sure that the Wifi icon is turned ON.
Internet connectivity button - Hit the Settings icon present at the top left corner of your screen.
Printer settings - Scroll down and select the Printer maintenance option from the dropdown menu.
Printer maintenance - Select the Update printer button in order to update the software and choose Check for printer updates now and check whether any updates are available.
- Wait until the updating process is complete and afterward restart the printer so that the updates can take effect.
Workaround:
If the issue isn’t resolved yet then the best thing to do is to call the HP Customer Support helpline on 0845 365 3605 so that they can find your account and arrange for replacements if required to be sent out to you. Most probably this hp supply memory error occurs because the contacts in the printer are squashed, there is a problem with the firmware or chip on the compatible toners. The only thing you can do is return them to where you bought them and get a replacement set.
Hopefully, the error must be gone till now. For further detail and information click here.


